Running SteamVR compatible applications
- Make sure that you don’t have any other SteamVR compatible headset (for example HTC Vive) connected to the computer
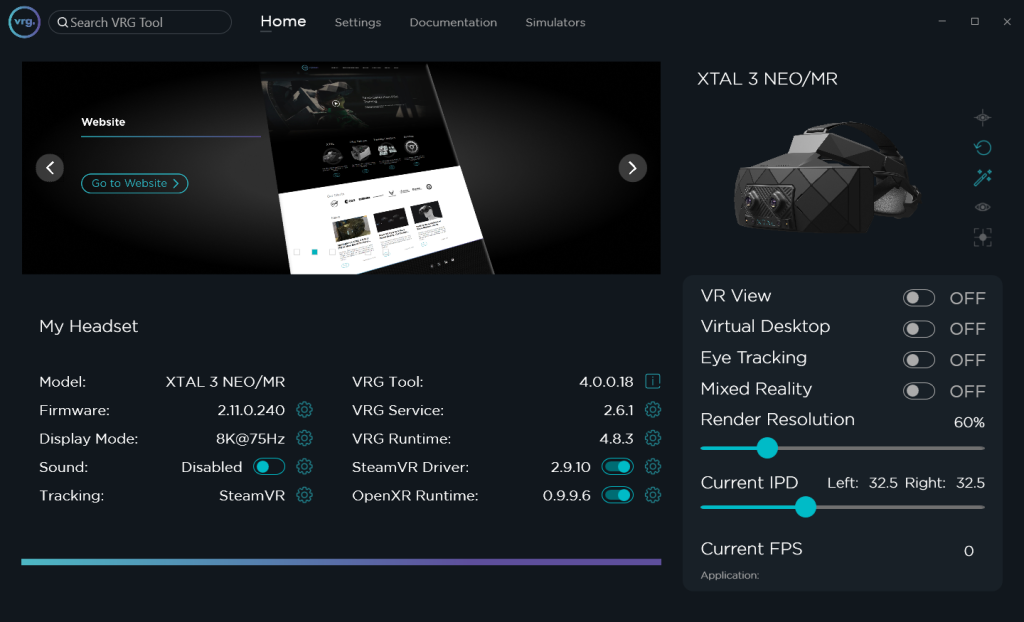
- Start the VR Tool service application
- Go to Settings tab
- Make sure that the VRG runtime is installed and updated
- Make sure that the SteamVR driver is enabled
- Make sure that the display mode is set to Direct Mode
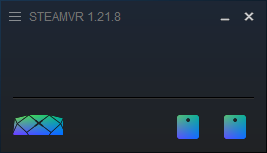
- Start SteamVR
- If everything started correctly you should see the XTAL headset icon and icons of your base stations in SteamVR
- Go through the standard SteamVR Room Setup to calibrate the play area
- Start any SteamVR compatible software/application
- Find the XTAL tray icon in the Windows notification area and right click on it to access detailed runtime settings
- You can use the XTAL runtime settings menu to set rendering quality, adjust FOV and other image parameters, or setup motion cancellation
- Motion cancellation setup
- If you’ll be using XTAL headset on a motion platform, you can utilize secondary Lighthouse tracker for direct platform movement cancellation/compensation
- Go to Tracking tab
- Make sure that the tracker icon is visible in SteamVR
- Check the ‘Motion cancellation’ checkbox in the Tracking tab
- Select the correct ID for the motion cancellation tracker
- If the movement of the headset doesn’t seem correct, try selecting different ‘Motion cancellation tracker ID’
This page was last modified on April 18th, 2023 at 10:56
< PreviousNext >