Setting up the project
- Start Unity editor
- Create a new Unity project if you don’t have it already
- Download the VRG Unity plugin
- available in the Unity Support folder
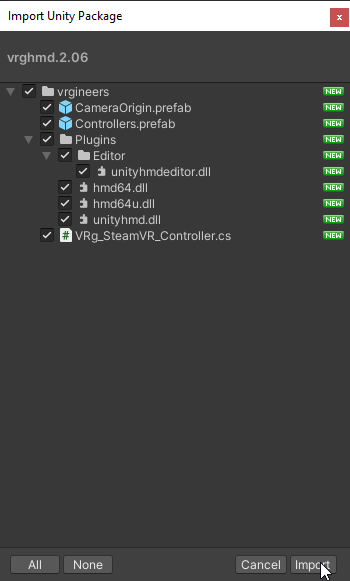
- Import the downloaded VRG Unity plugin
- In Unity select Assets > Import Package > Custom Package…

- Select the downloaded VRG Unity plugin (vrghmd.x.x.unitypackage)and click on Open

- With all files selected click on Import
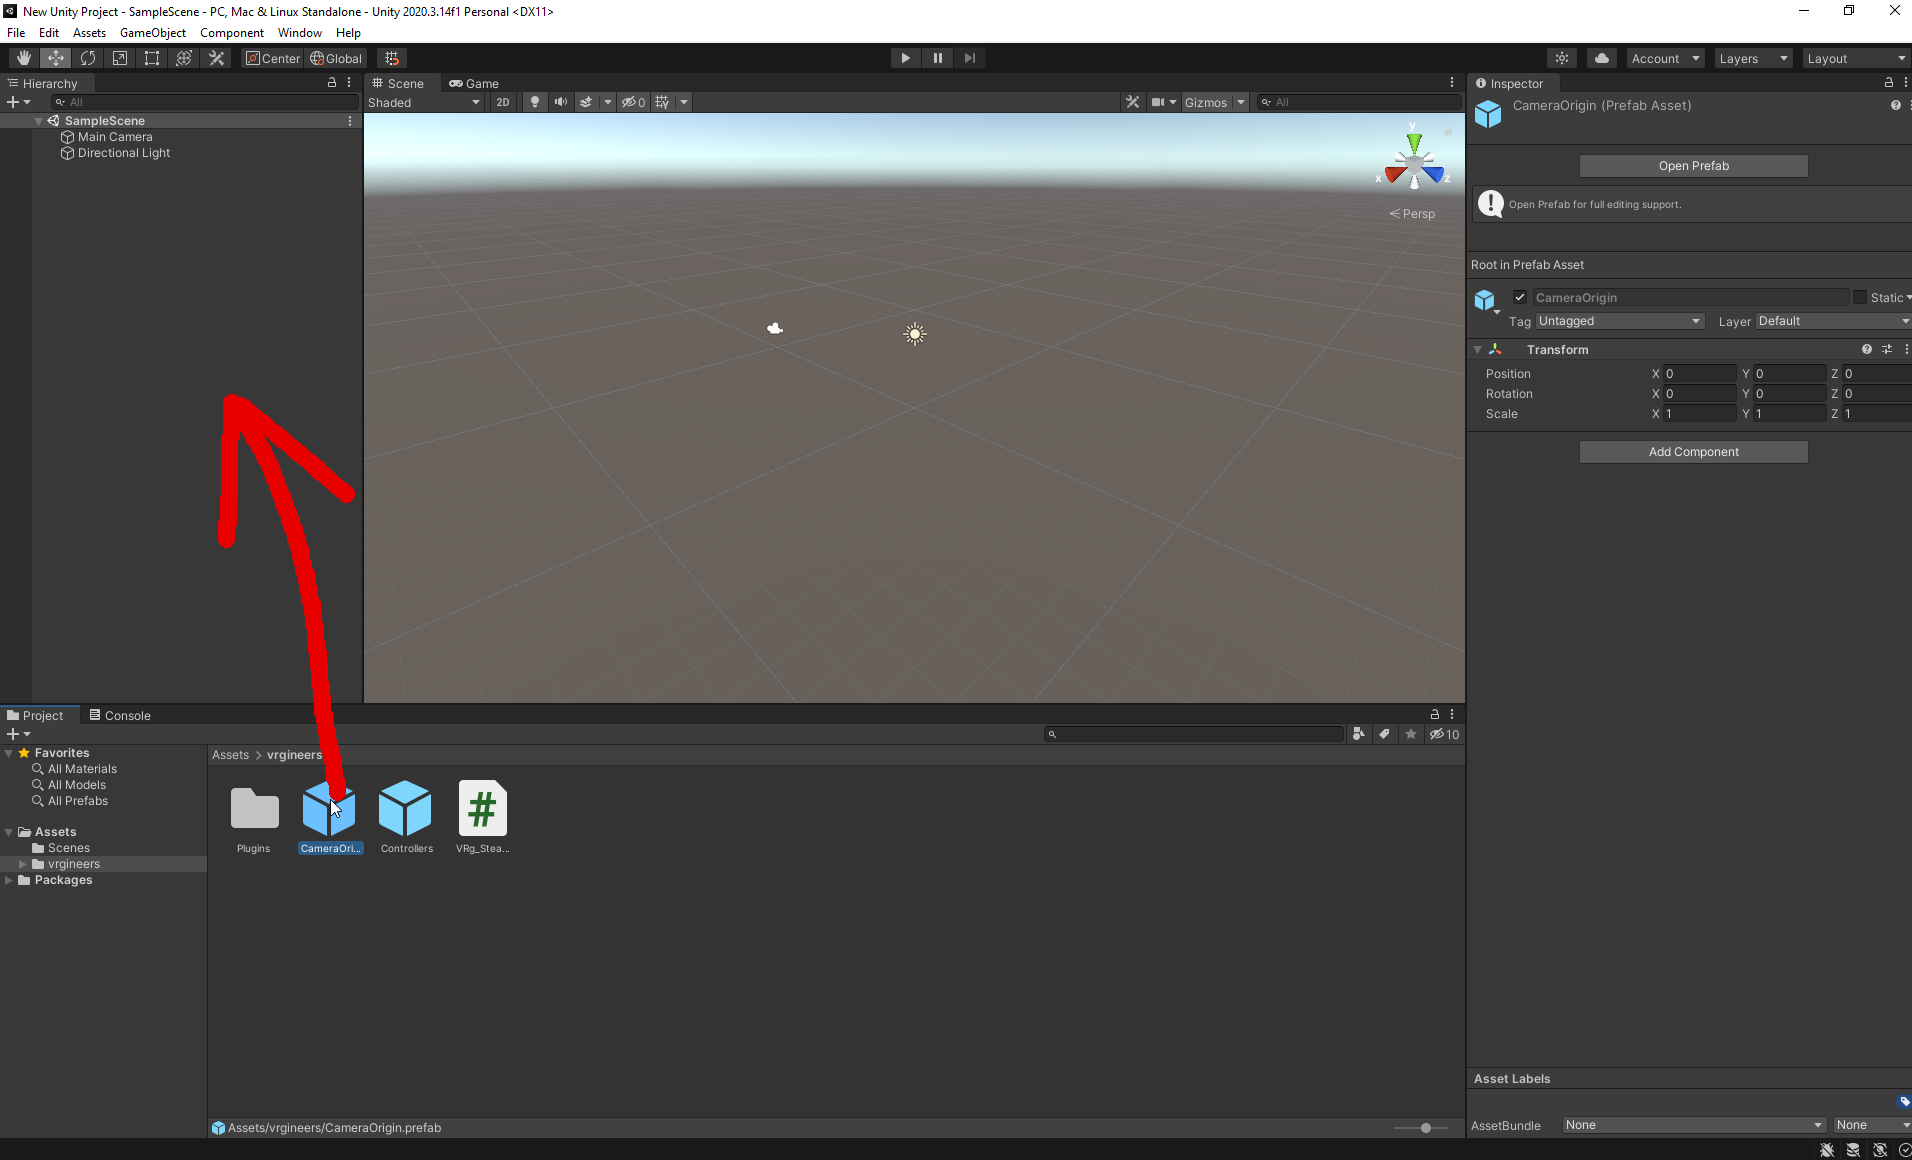
- Drag and drop Assets/vrgineers/CameraOrigin.prefab object from Project window into the Hierarchy window of your project
- Optional: you can also use the VRG plugin with custom Camera object
- Select your Camera object in the Hierarchy window
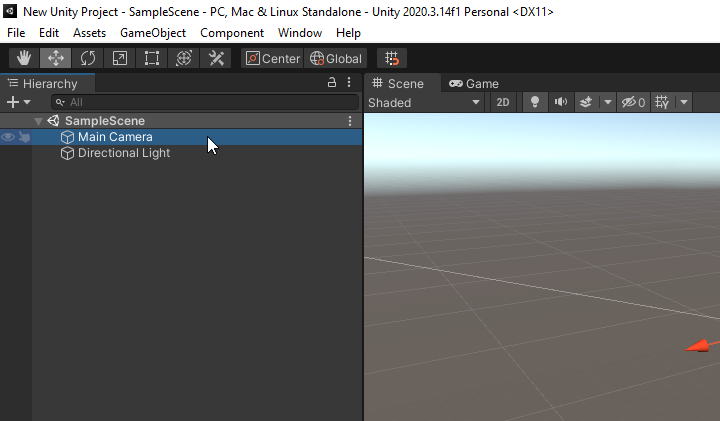
- Click on the Add Component button in the Inspector window
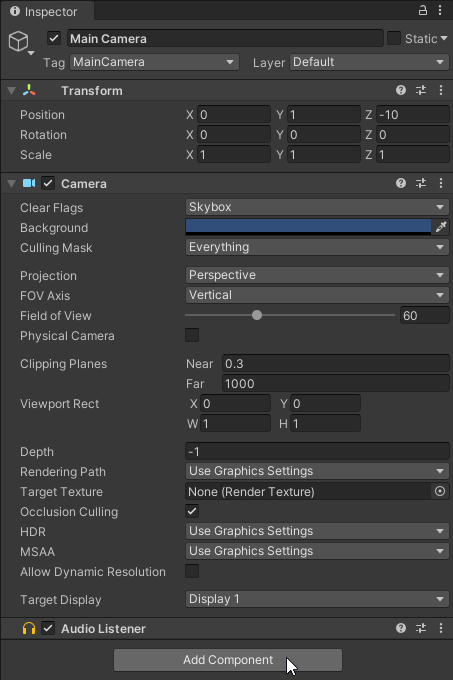
- Select Scripts – VrgHmd from the popup window
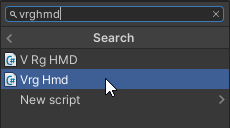
- Now your Camera object is connected to the appropriate VrgHmd script, so you can use it the same way as the CameraOrigin.prefab
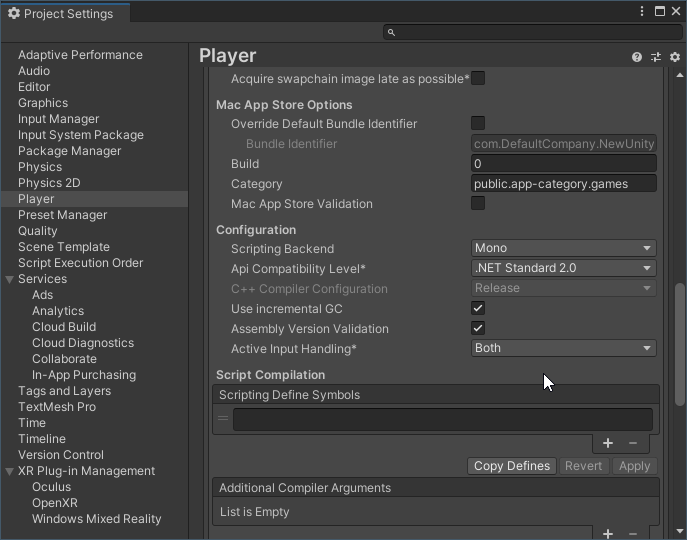
- Make sure that the ‘Player’-’Active Input Handling’ is set to ‘Both’ or ‘Input Manager (Old)’
- Use the Play button to test your project inside Unity editor with support for the XTAL headset (You’ll see a warning message if the headset isn’t connected to your computer, but you can still run the project and test it without the headset)
This page was last modified on March 29th, 2023 at 11:42
< PreviousNext >