Setup
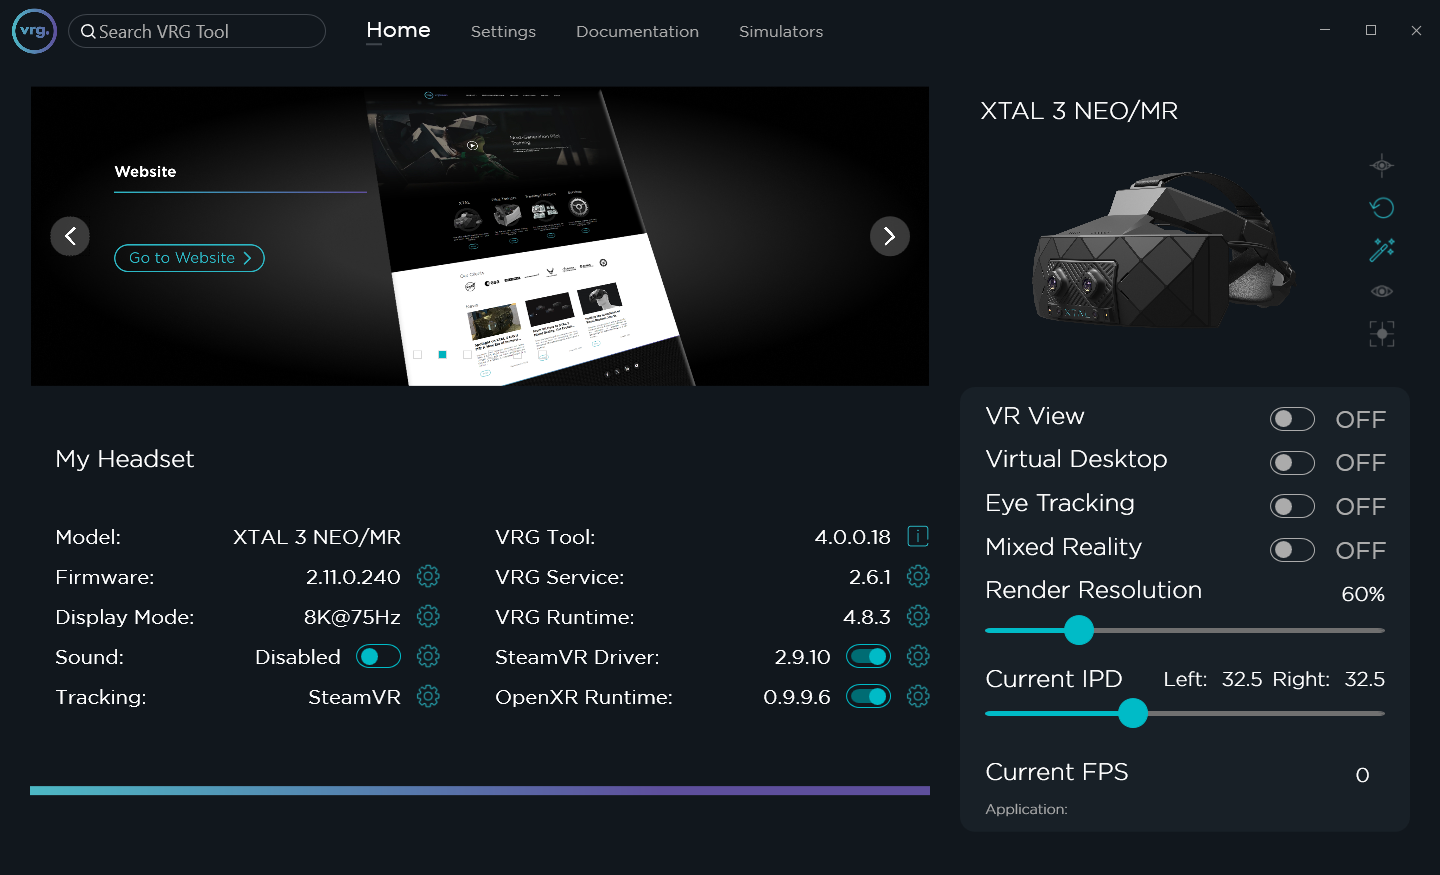
- Start the VRG Tool service application
- Make sure that the VRG Runtime is installed and updated
- Make sure that the SteamVR Driver is enabled
- Make sure that you have the correct Tracking option selected
- use ‘IMU’ if you are using the XTAL internal IMU sensor without any additional room-scale tracking
- use ‘SteamVR’ if you are using the Lighthouse/SteamVR tracking system
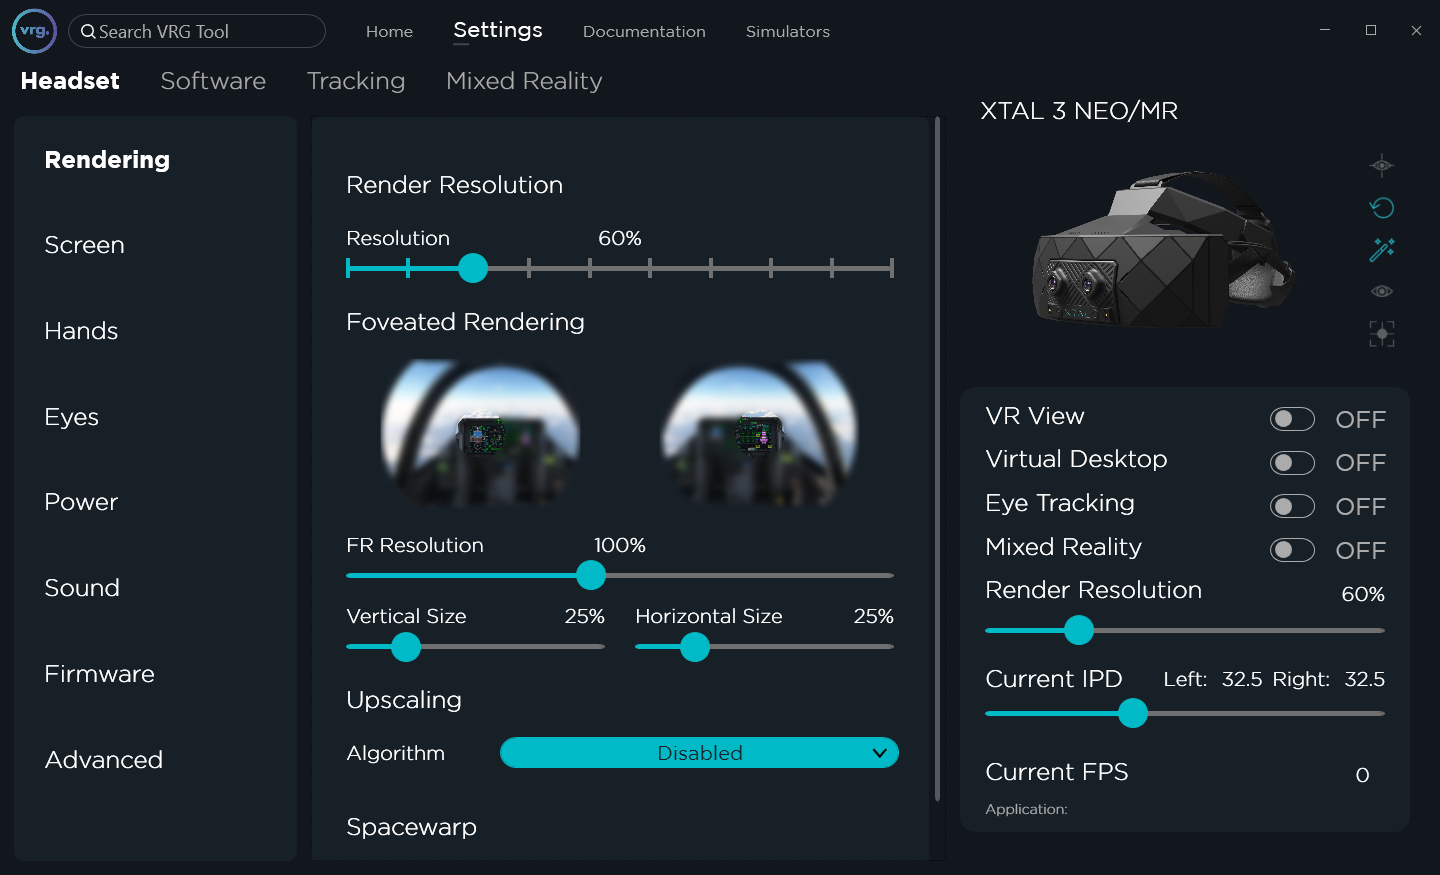
- Go to Settings – Headset Resolution
- Set the resolution to a value corresponding to the used GPU/CPU and your desired FPS
- for the XTAL 3 and XTAL 8K headsets we recommend using the default 60%
- for the XTAL 5K headset we recommend using higher value (80-100%)
- make sure to restart SteamVR after changing these settings
- you should test the resolution/FPS changes when the plane cockpit is loaded, as the main X-Plane menu will show overall higher FPS than what can be achieved in the full scenario
- Set the resolution to a value corresponding to the used GPU/CPU and your desired FPS
- Optional (if you are using room-scale Lighthouse/SteamVR tracking system)
- Position the Lighthouse base stations around your tracking space, power them up, and make sure they are synchronized
- Start SteamVR
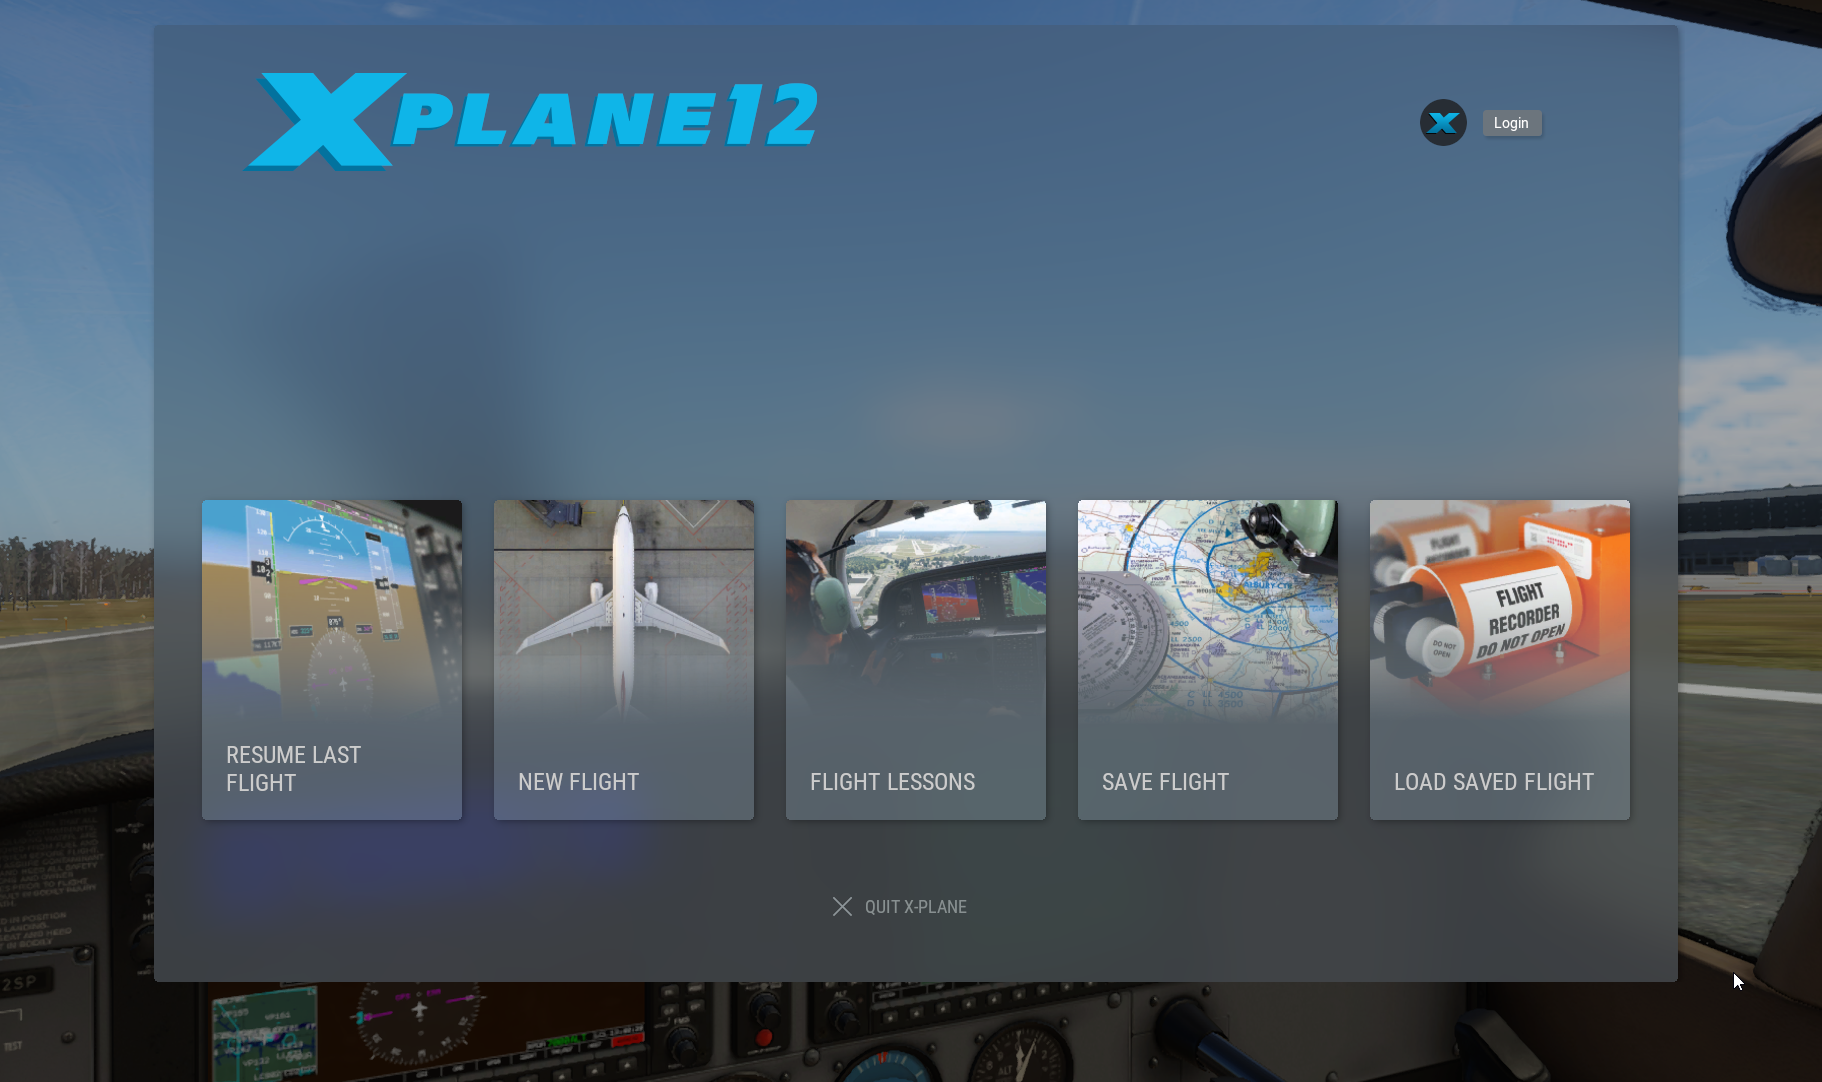
- Start X-Plane
- Start a new flight session
- Switch to VR
- Either through the X-Plane Settings menu – VR Hardware – Enable VR Hardware or through a predefined keyboard shortcut
This page was last modified on May 12th, 2025 at 15:41
< PreviousNext >