Setup
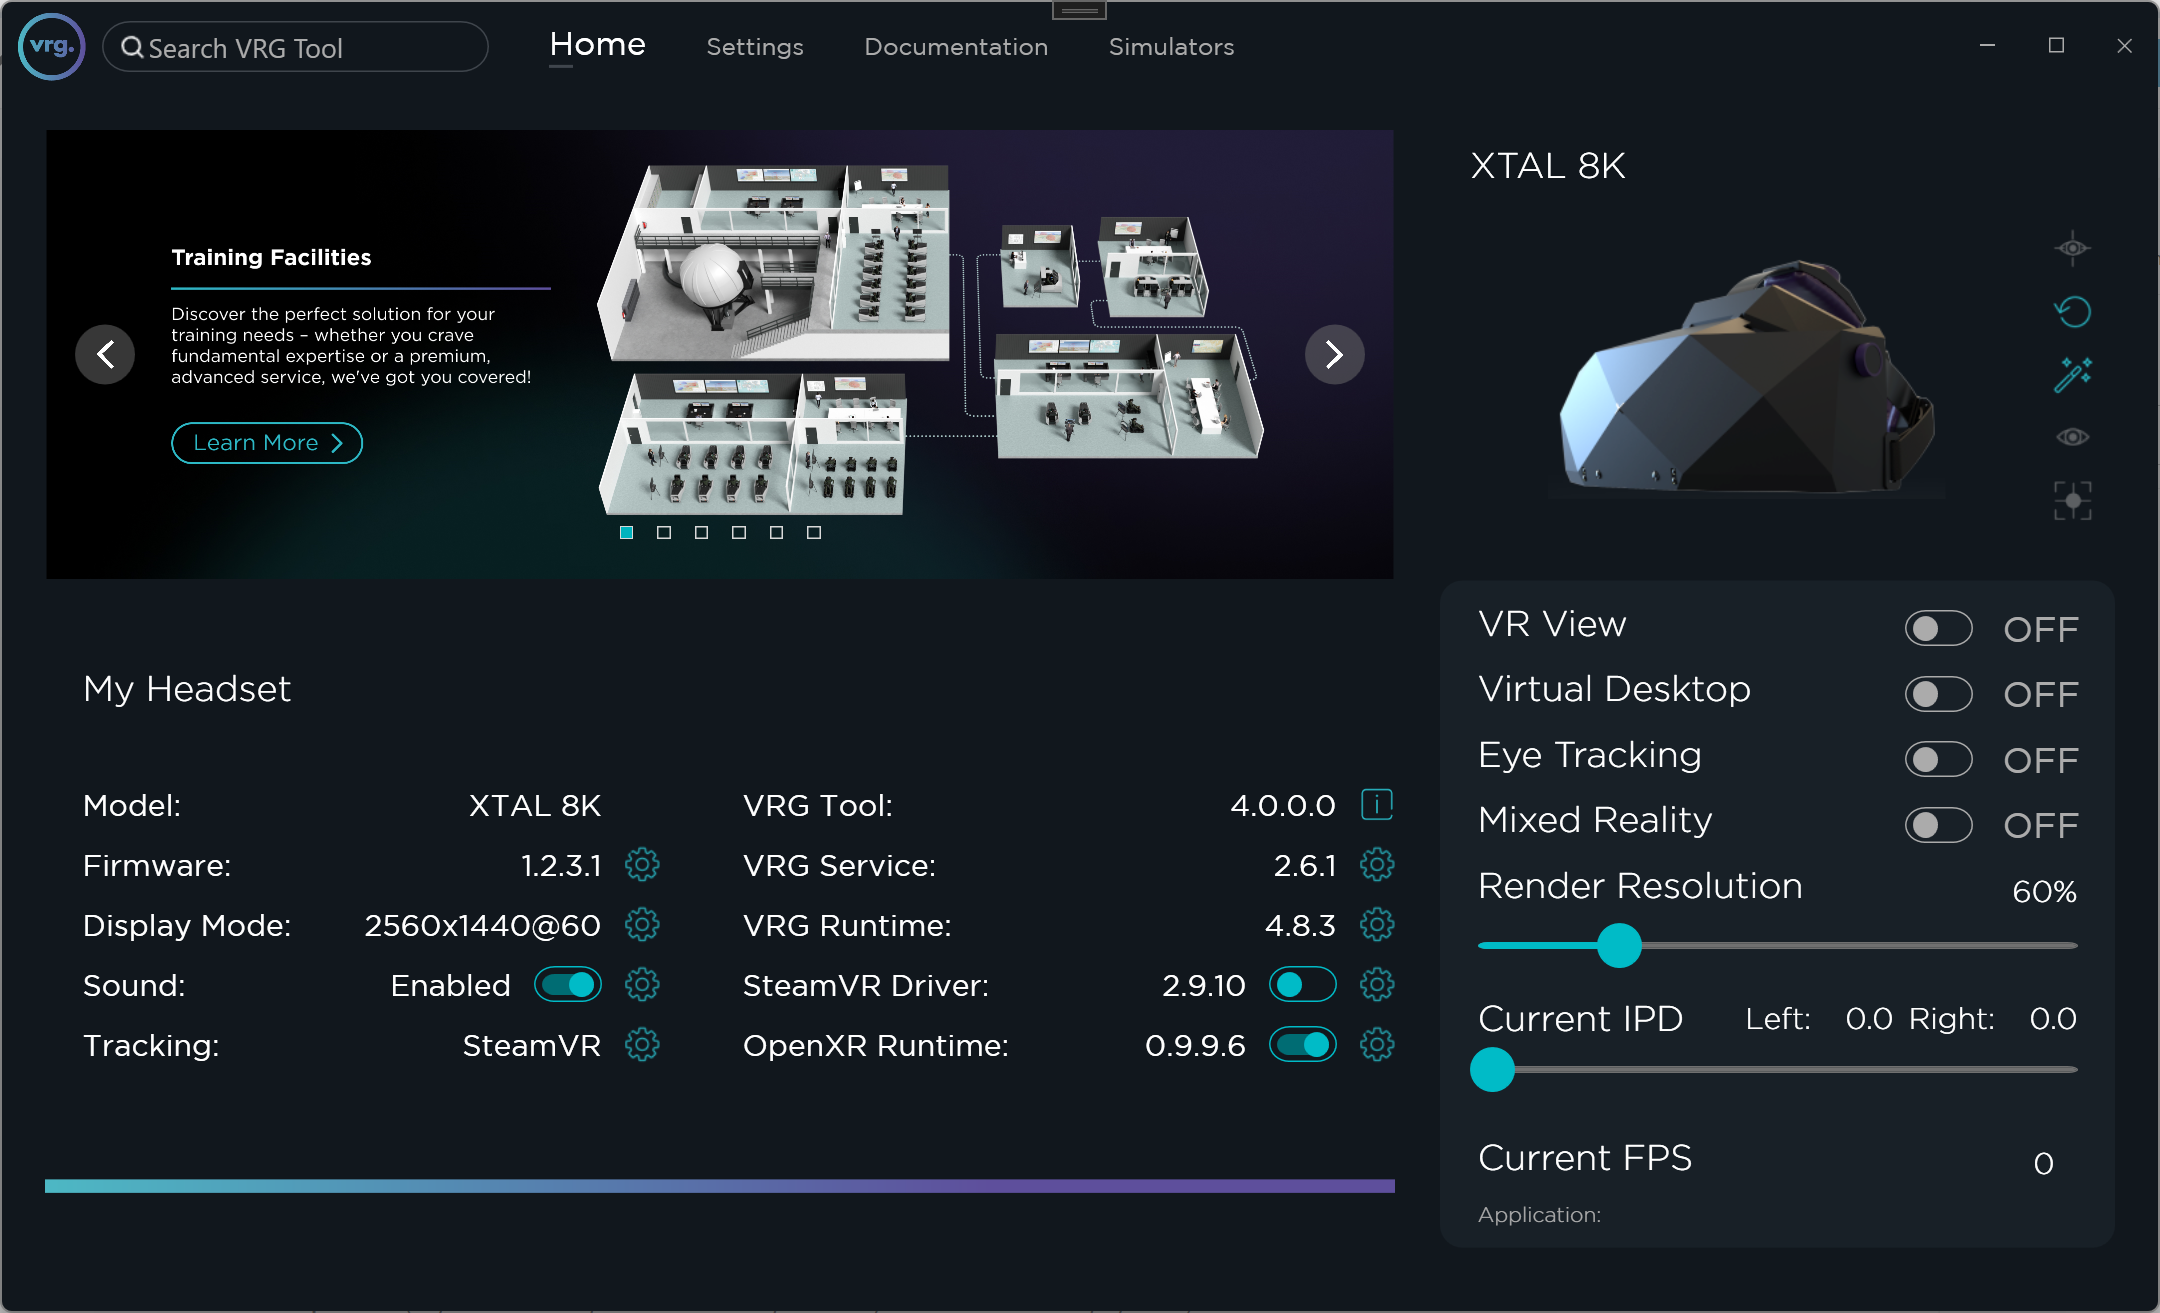
- Start the VRG Tool service application
- Make sure that the VRG Runtime is installed and updated
- Make sure that the SteamVR Driver is disabled
- Make sure that you have the correct Tracking option selected
- use ‘IMU’ if you are using the XTAL internal IMU sensor without any additional room-scale tracking
- use ‘SteamVR’ if you are using the Lighthouse/SteamVR tracking system
- Optional (if you are using room-scale Lighthouse/SteamVR tracking system)
- Position the Lighthouse base stations around your tracking space, power them up, and make sure they are synchronized
- Start SteamVR

- Check that the Ultraleap Tracking Control Panel is running
- Optional (if you want to use the voice control option)
- Unzip the downloaded VoiceMacro.zip
- Start VoiceMacro.exe
- The VoiceMacro app will be running in the background and only show the icon in tray notification area
- You can double-click the icon to access additional settings
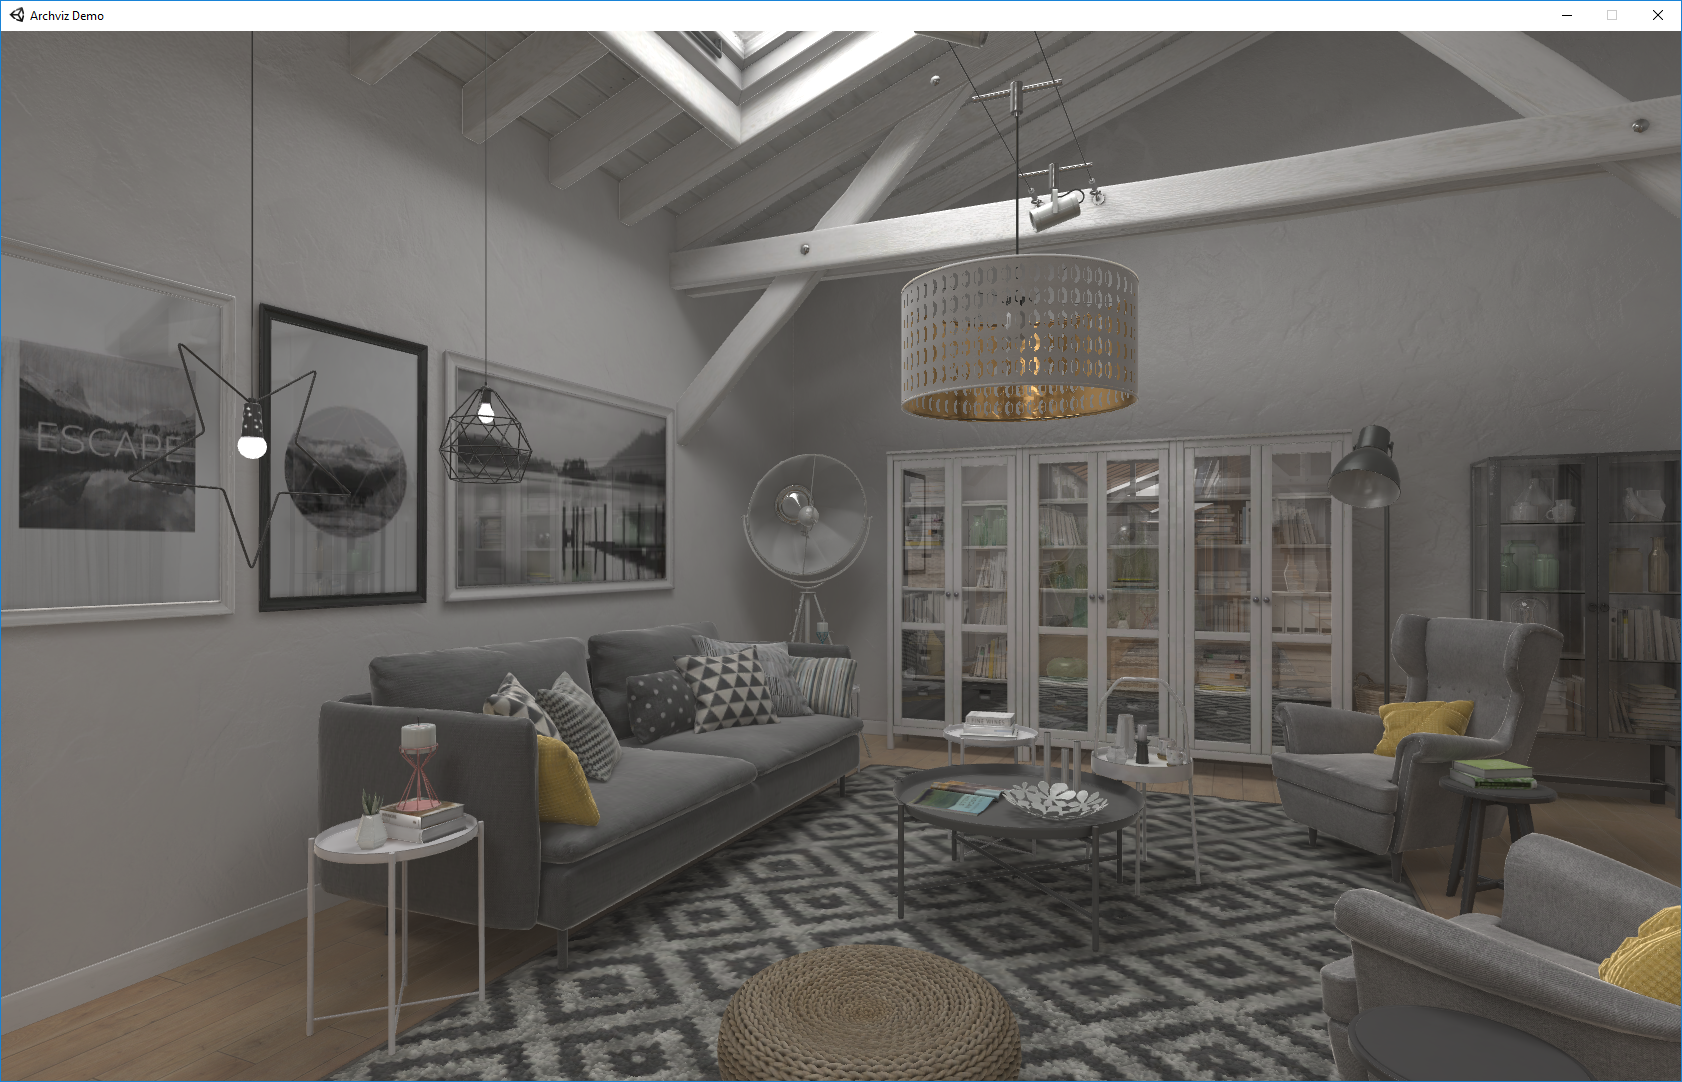
- Unzip the downloaded Archviz_xxx.zip
- Start ‘Archviz Demo.exe’
- Calibrate the ground level
- This step is only necessary when you are first setting up the system, or after you change the tracking system
- Place the XTAL headset on the ground in the middle of your tracking space
- Make sure that it is visible by your tracking system (SteamVR, DTrack, …)
- Click inside the ArchViz window
- Press F10 on the keyboard (or you can use the Calibrate position button in the VRG Tool Quick Settings menu)
- Click inside the ArchViz window (to be able to control the demo with keyboard commands and to automatically switch to the correct VoiceMacro profile)
- Enjoy the ArchViz VR experience
This page was last modified on March 22nd, 2025 at 13:25
< PreviousNext >