Installation
You can install VRG Tool by running the downloaded installer file (available in the VRG Tool folder).
You can cancel the installation during any step by pressing the Cancel button. Then continue as described in the Cancelling the installation section.
Step 1. Initialize the installation
- After running the installation file you will see this window:
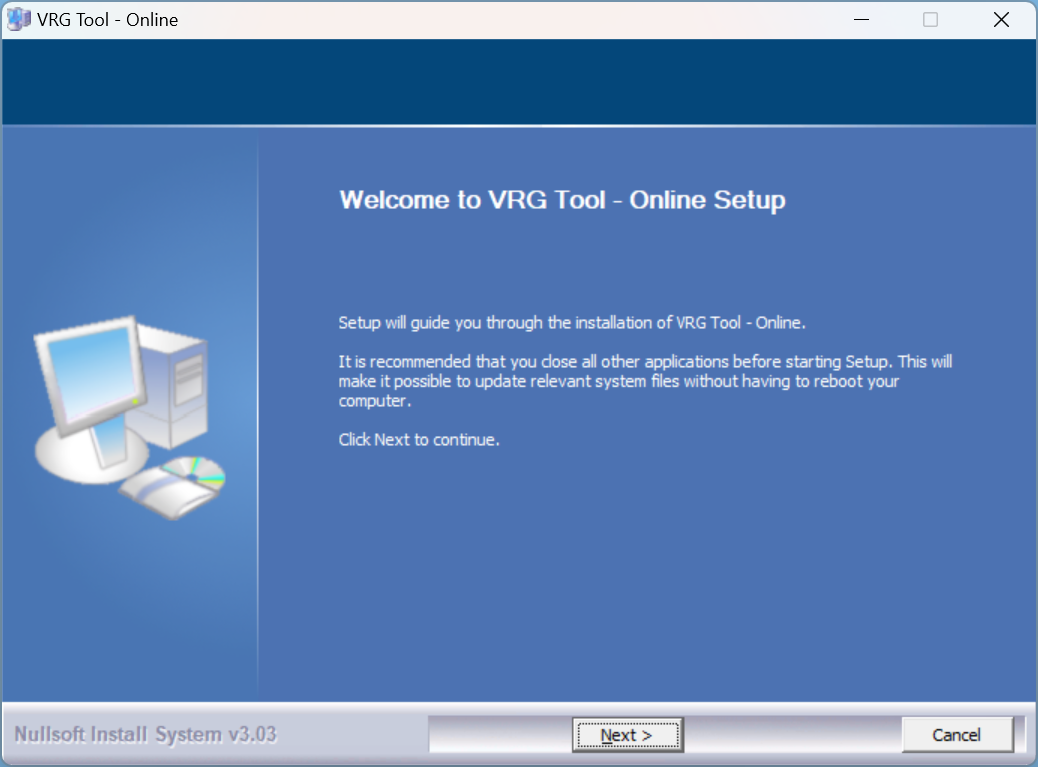
- You can continue by pressing Next.
Step 2. Select installation folder
- In the second step you can select a custom installation folder or you can keep the default folder.
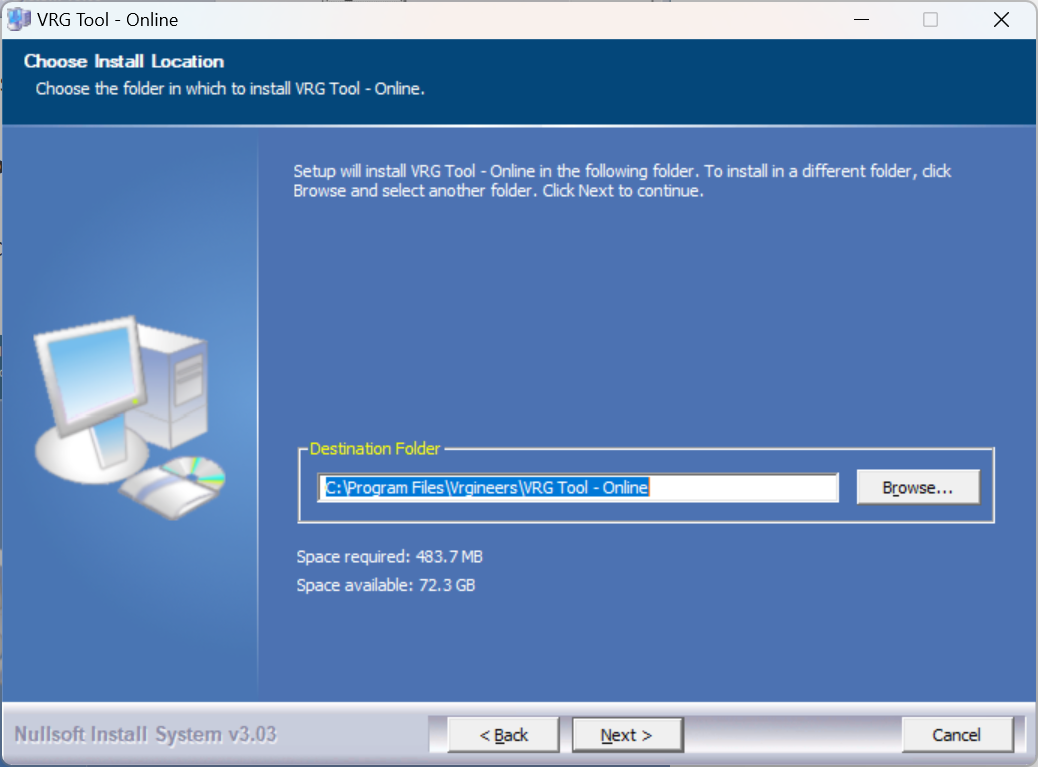
- You can do that by either selecting the desired folder in the file system by pressing Browse… button or typing the folder path by hand in the corresponding input.
- Then you can continue by pressing Next.
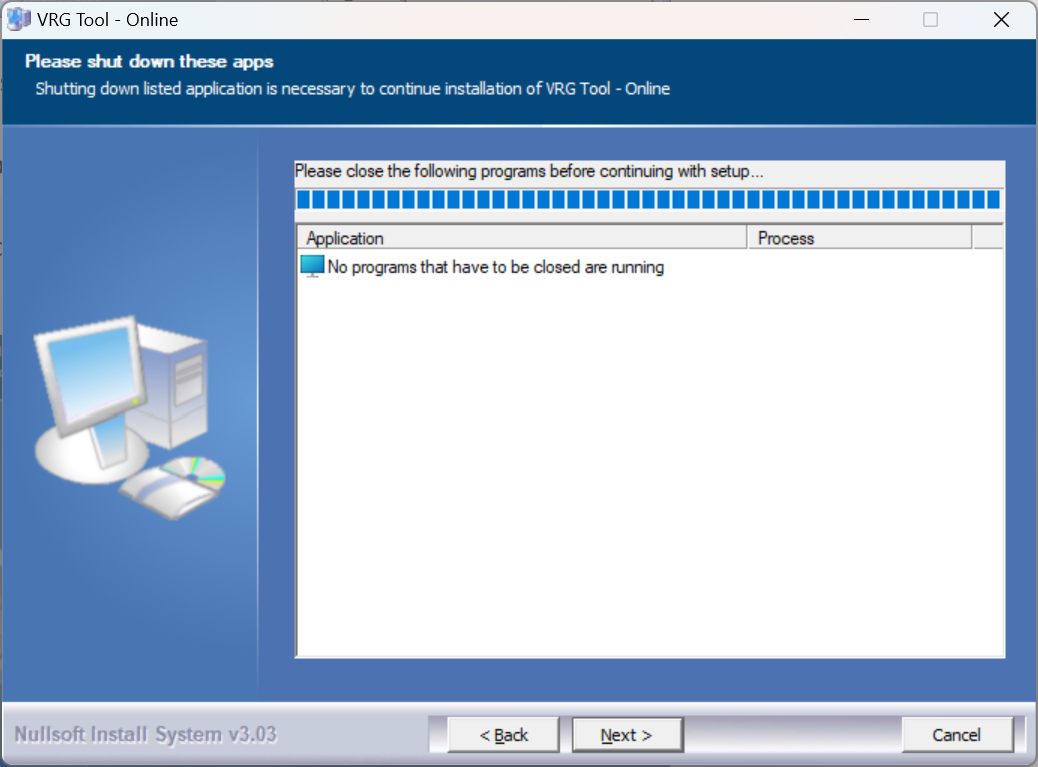
Step 3. Check for running applications
- If you see ‘VRG Tool‘ in the application list on this window, VRG Tool is already installed and running and you have to close it before you continue.
- If you see ‘No programs that have to be closed are running‘ in the application list on this window, you can continue by pressing Next.
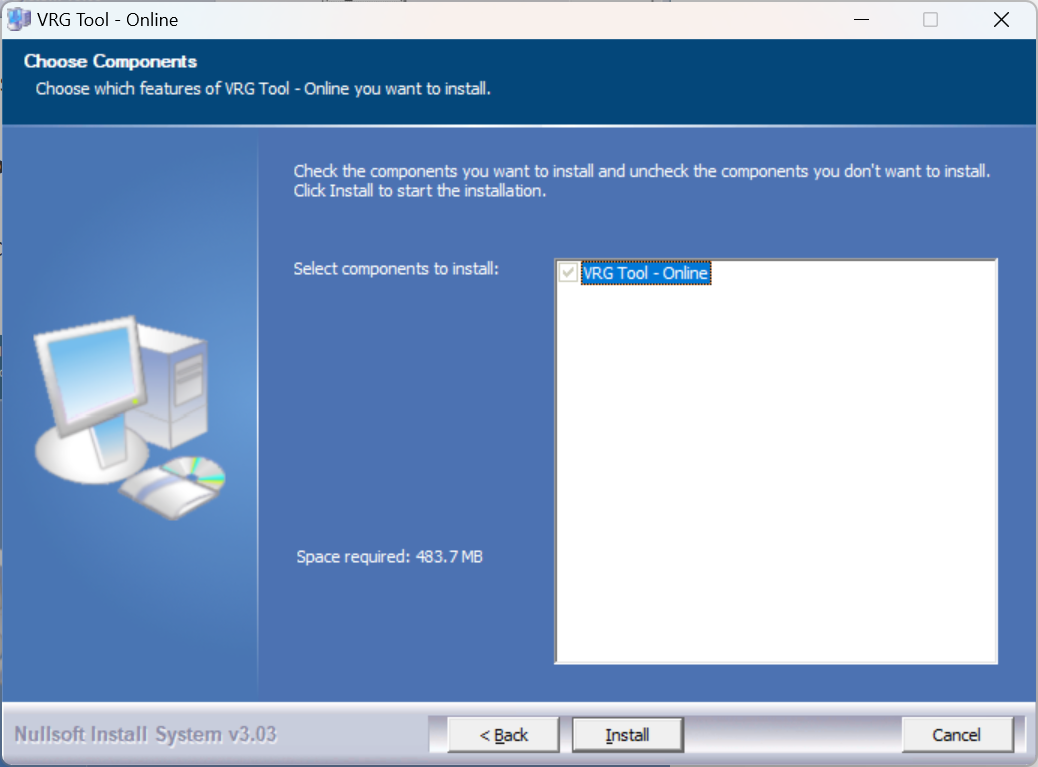
Step 4. Select components
- The installation wizard allows you to select components that will be installed.
- VRG Tool installation is required.
Step 5. Wait for finish
- The installation process will then commence. This could take up to few seconds.

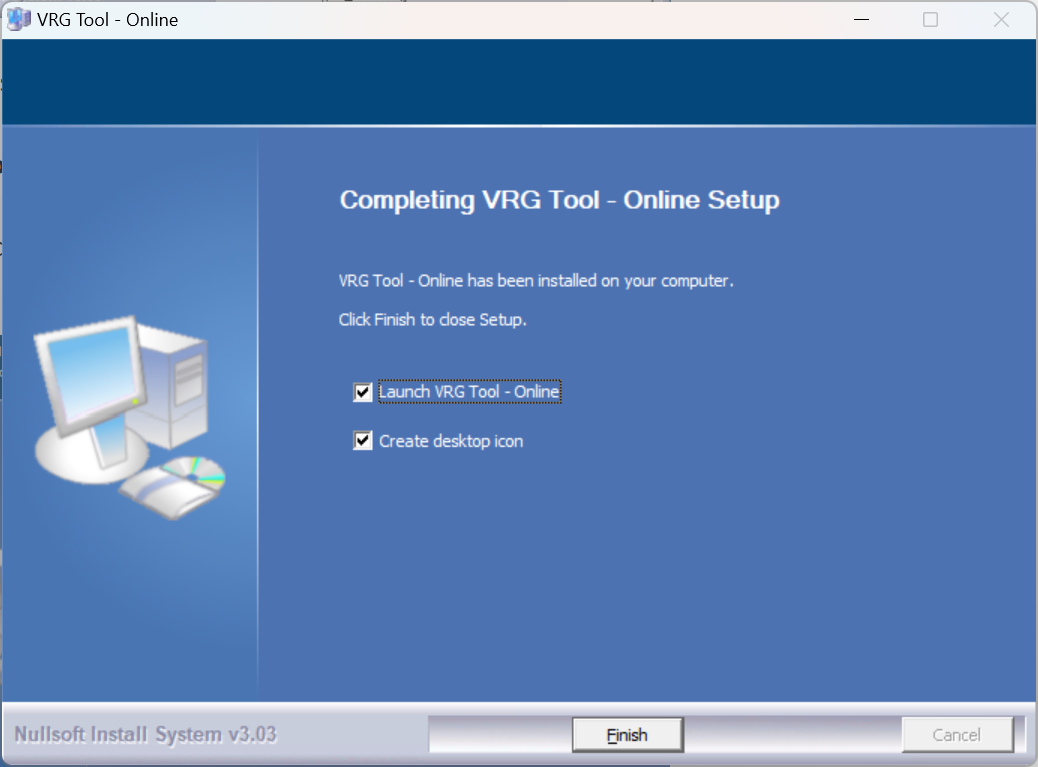
Step 6. Complete installation
- VRG Tool is now ready.
- You can choose if you want to start VRG Tool automatically after closing the installation, and to create a shortcut icon on your desktop.
- You can close the installation program by pressing Finish.
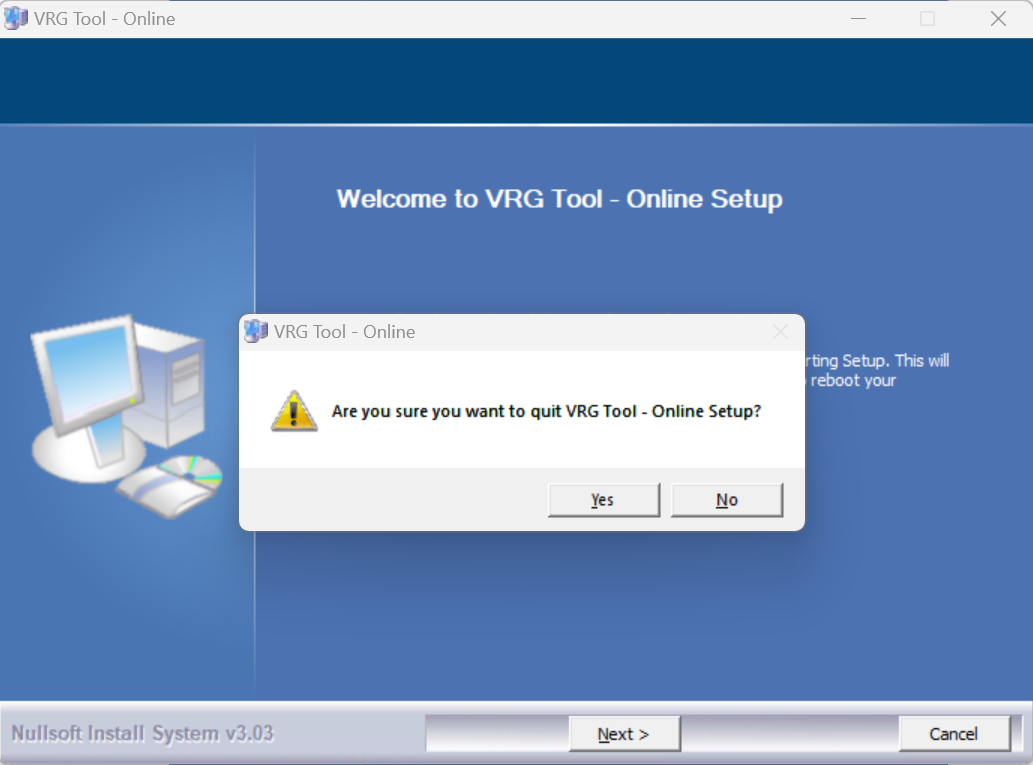
Cancelling the installation
- By pressing Cancel you cancel the current installation process. Confirmation window will appear:
- By pressing Yes you will confirm the cancel and exit the installation process.
- By pressing No you will return to the previous window and the installation process will continue.
This page was last modified on March 22nd, 2025 at 9:04
< PreviousNext >