First setup
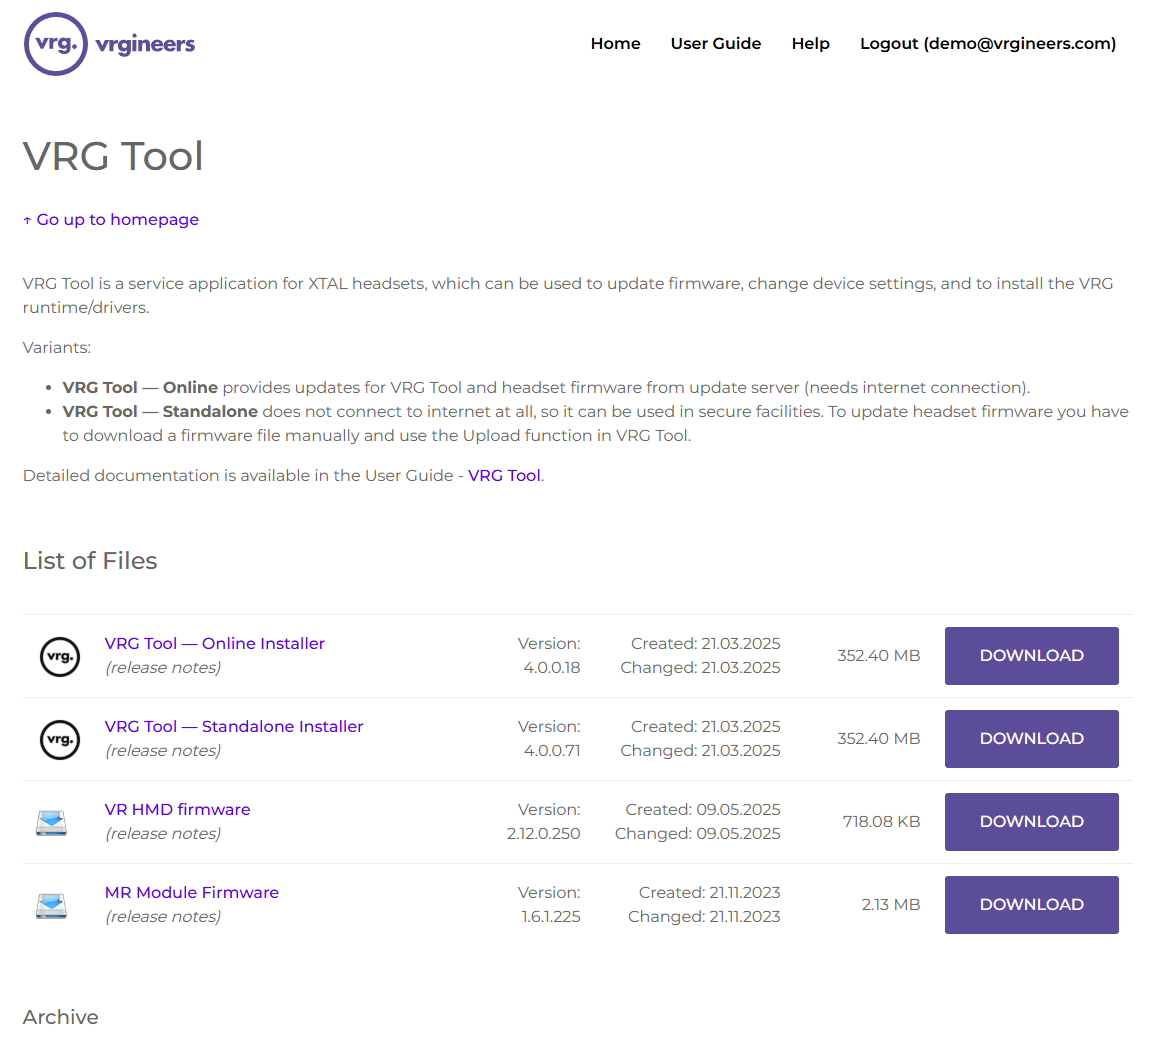
- Download and install the VRG Tool service application.
- The latest version is available in the VRG Tool folder.
- Start the VRG Tool service application.
- Use the the desktop shortcut or start VRG Tool.exe manually (by default located in c:\Program Files\Vrgineers\VRG Tool – Online\).
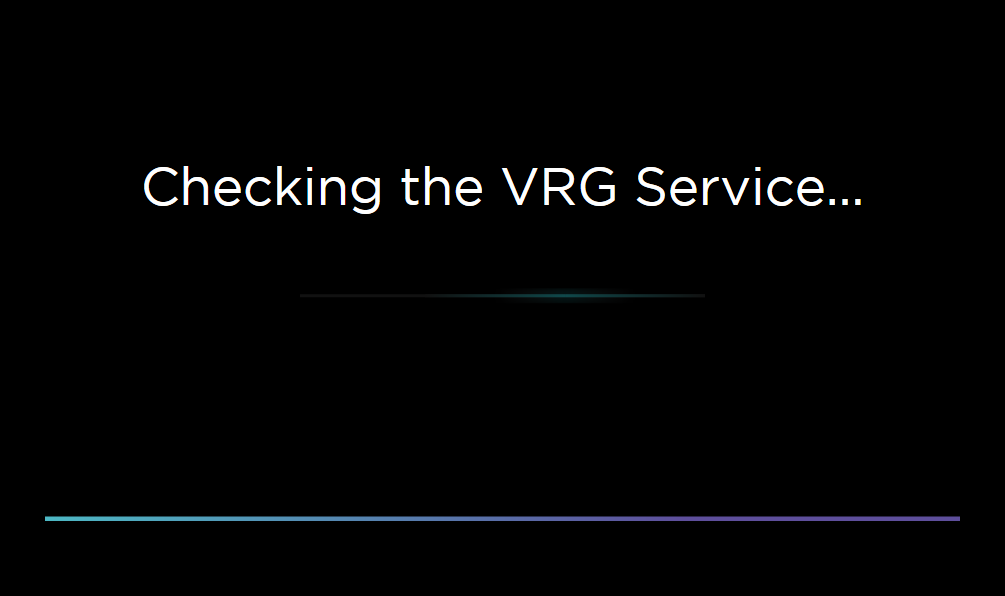
- During startup the VRG Service will be checked, and it will be installed/updated automatically if needed.
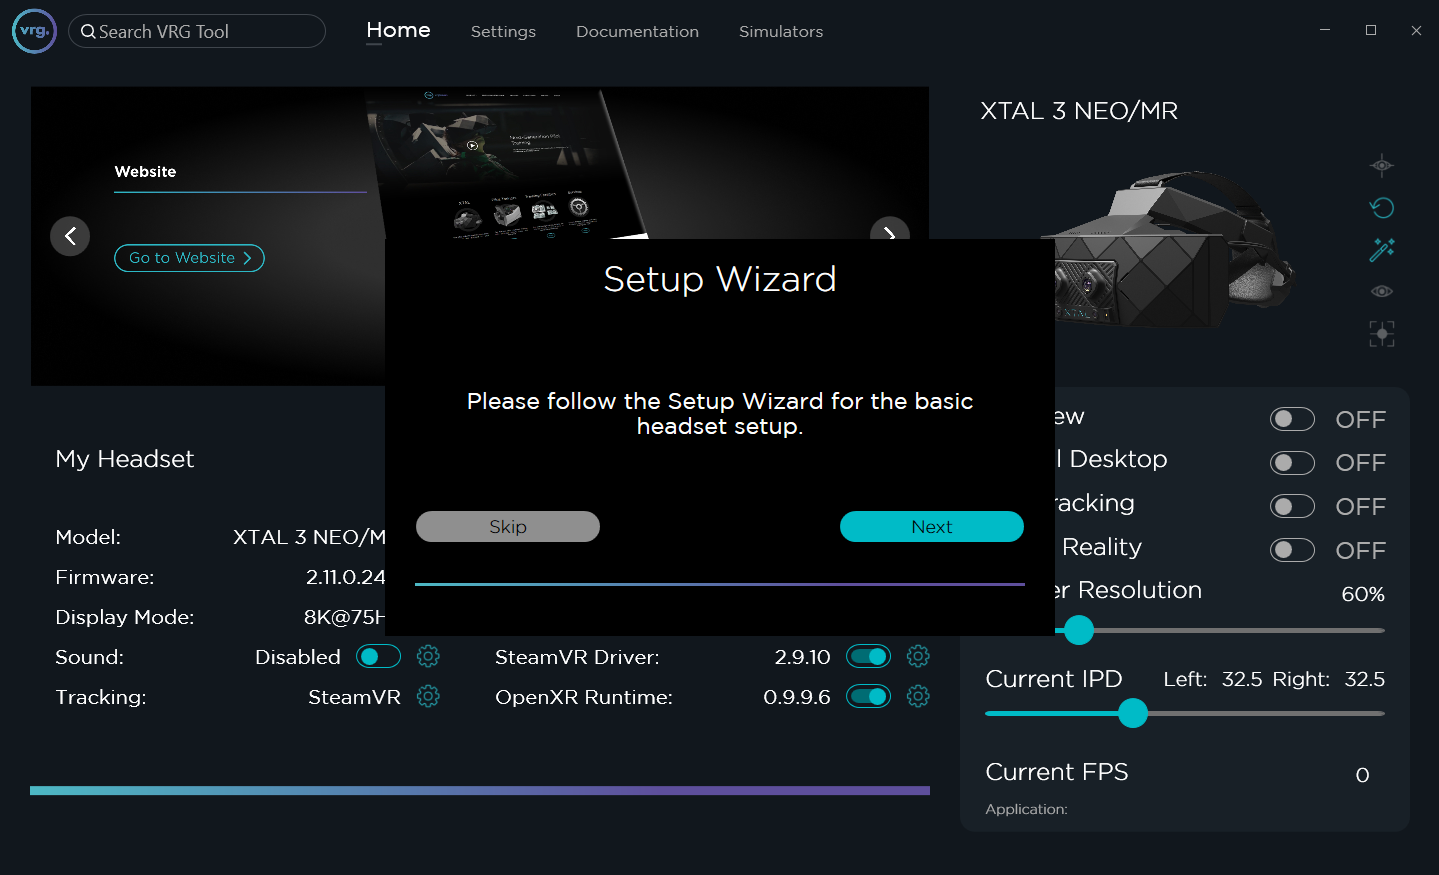
- If the Setup Wizard was not completed yet, a Setup Wizard popup window will be shown.
- Start the Setup Wizard.
- Either click on the Next button in the Setup Wizard popup window, or click on the Wizard icon in the Connected Device section.
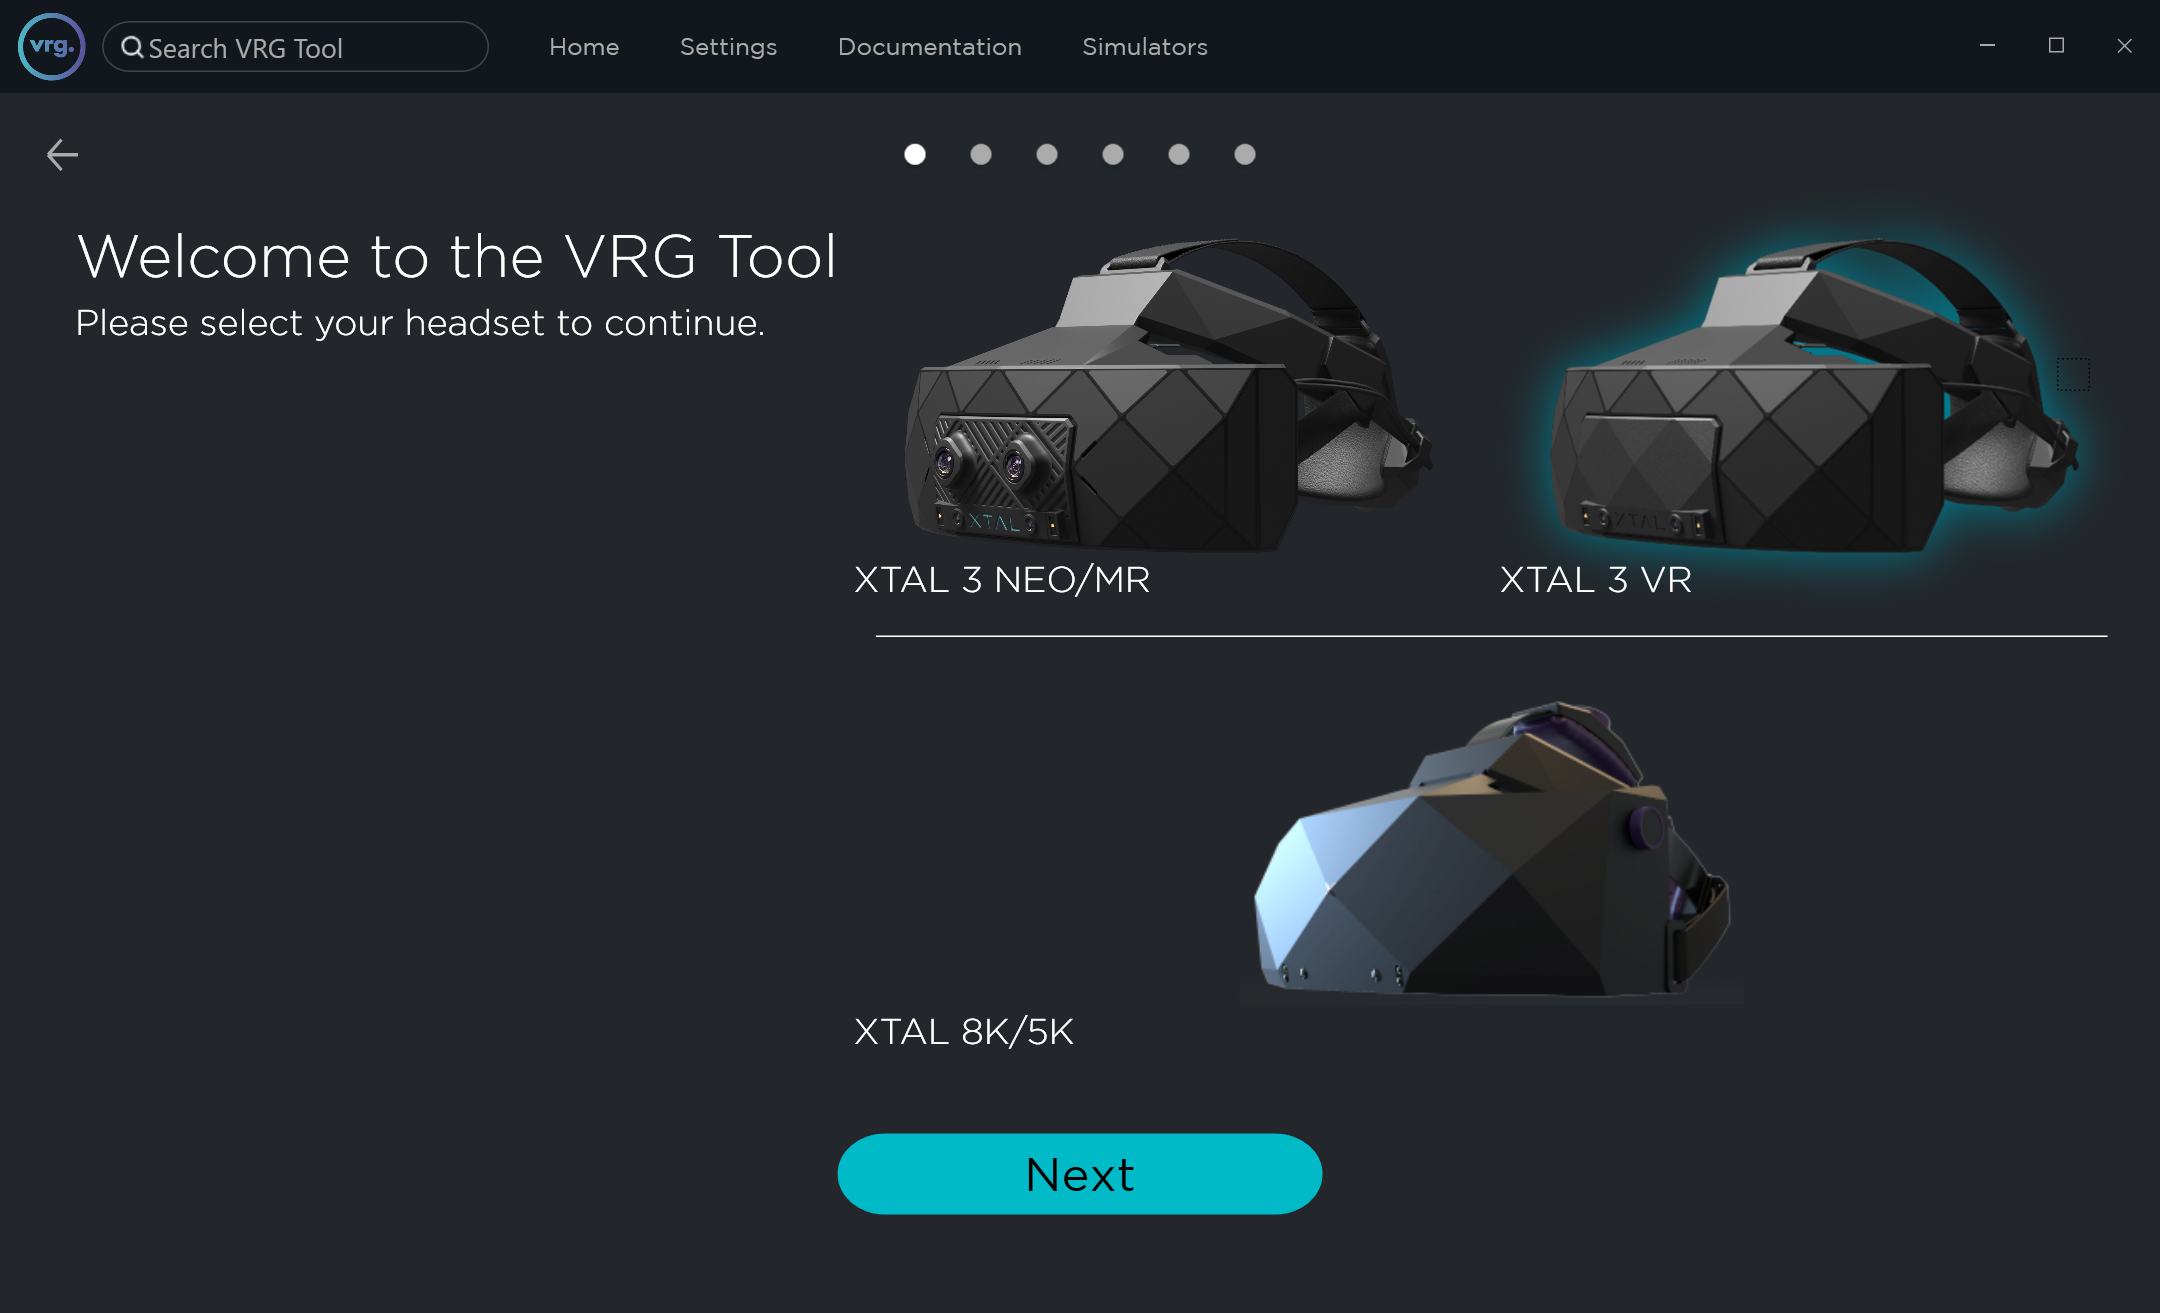
- Select which headset you want to set up.
- If the XTAL headset is already connected to the PC it will be automatically highlighted, otherwise you can click on the headset image corresponding to the headset type you want to set up.
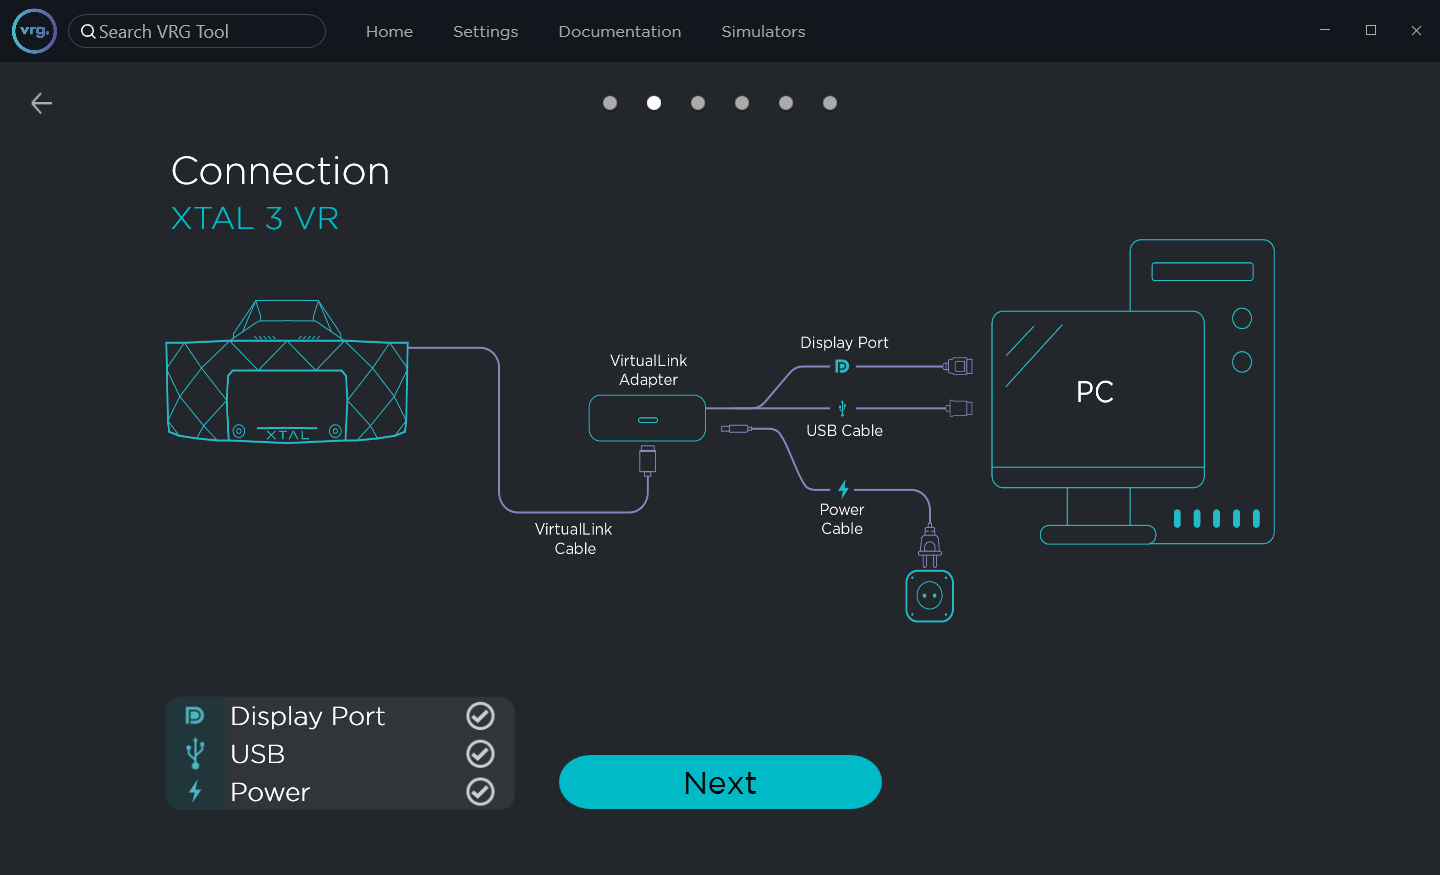
- Follow the connection instructions on the next page depending on the selected headset.
- XTAL 3 and XTAL 8K headsets can be connected through the supplied VirtualLink adapter, which splits the all-in-one VirtualLink connection into separate DisplayPort, USB, and power cables.
- Alternatively on older Nvidia GPUs (20xx generation) the VirtualLink cable can be connected directly into the USB-C connector on the GPU.
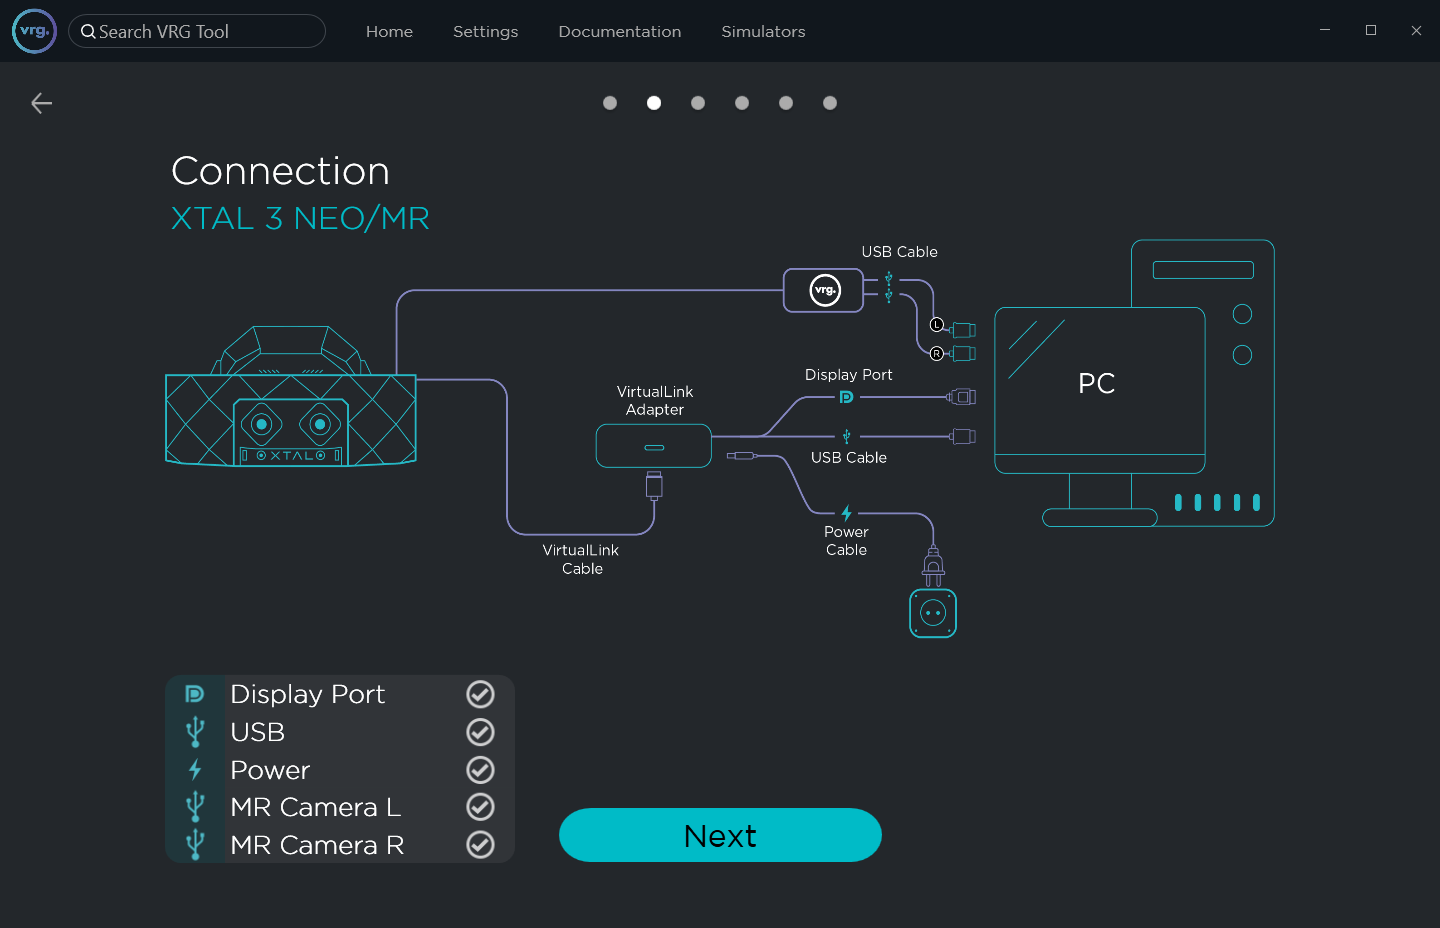
- XTAL 3 MR headsets contain two additional USB cables for mixed reality cameras.
- XTAL 5K and VR Hero headsets are equipped with custom connection cable bundle, which contains separate DisplayPort cable, USB cable, and power cord cable.
- XTAL 3 and XTAL 8K headsets can be connected through the supplied VirtualLink adapter, which splits the all-in-one VirtualLink connection into separate DisplayPort, USB, and power cables.
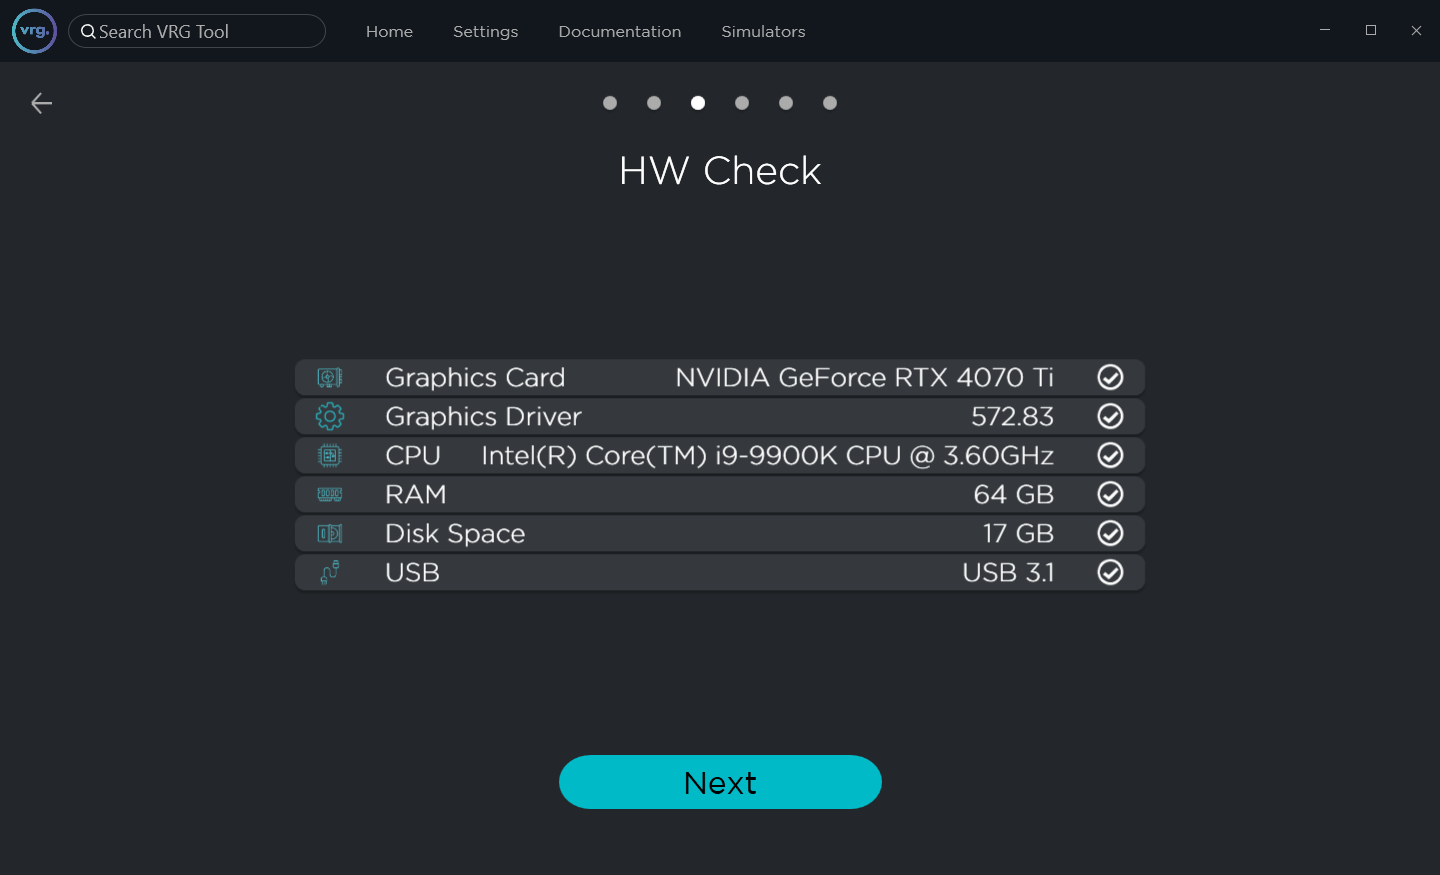
- In the next step the Setup Wizard will check your PC hardware details, and it will show you if they are compatible with the headset.
- If you are using a newer version of the GPU driver than the recommended one, the setup wizard will show recommended verified version, but in most cases downgrading the driver is not necessary unless you encounter any issues.
- Install VRG Runtime.
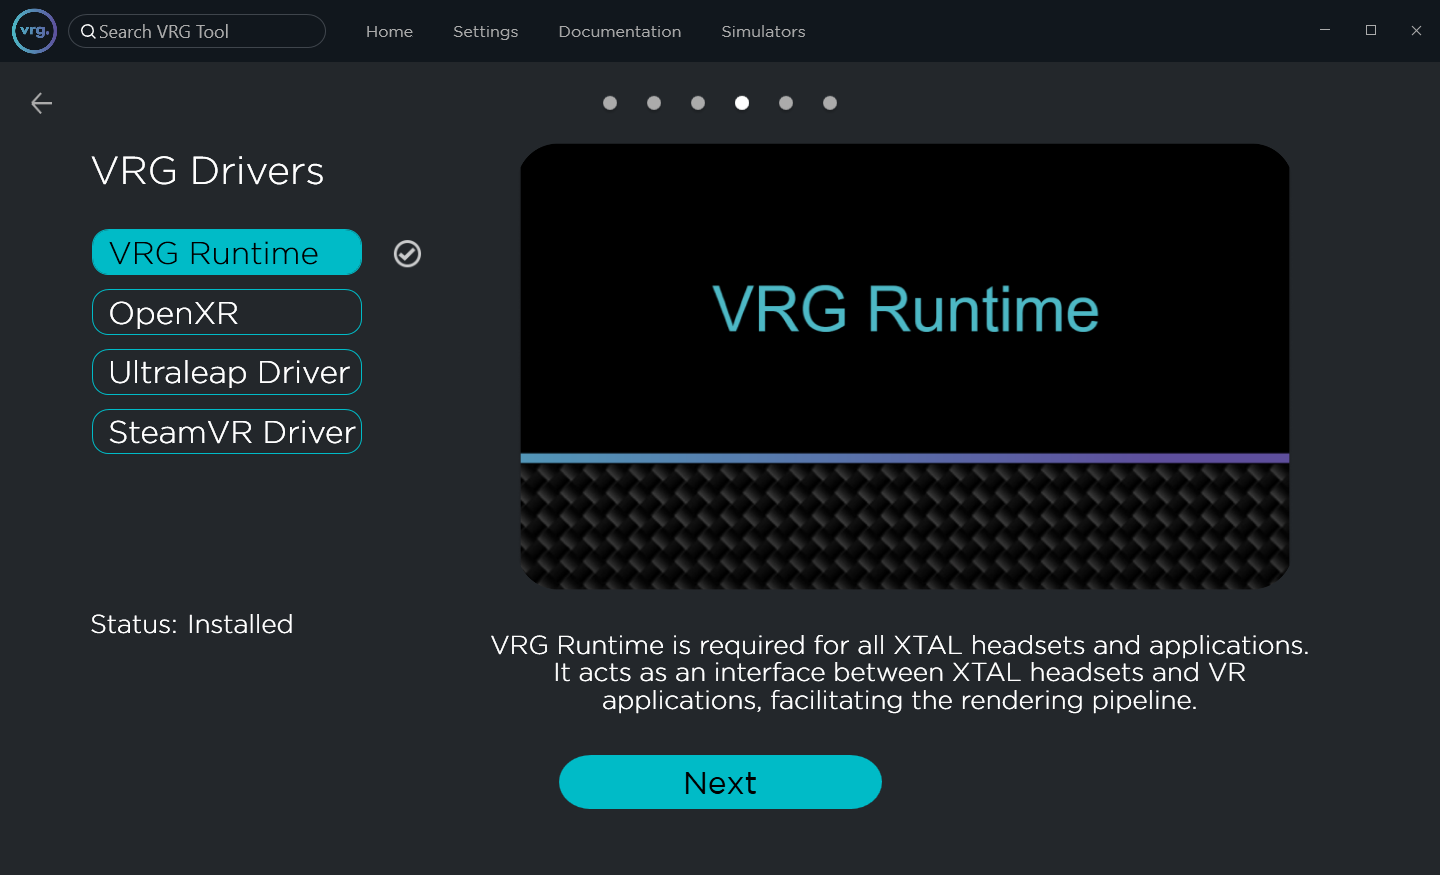
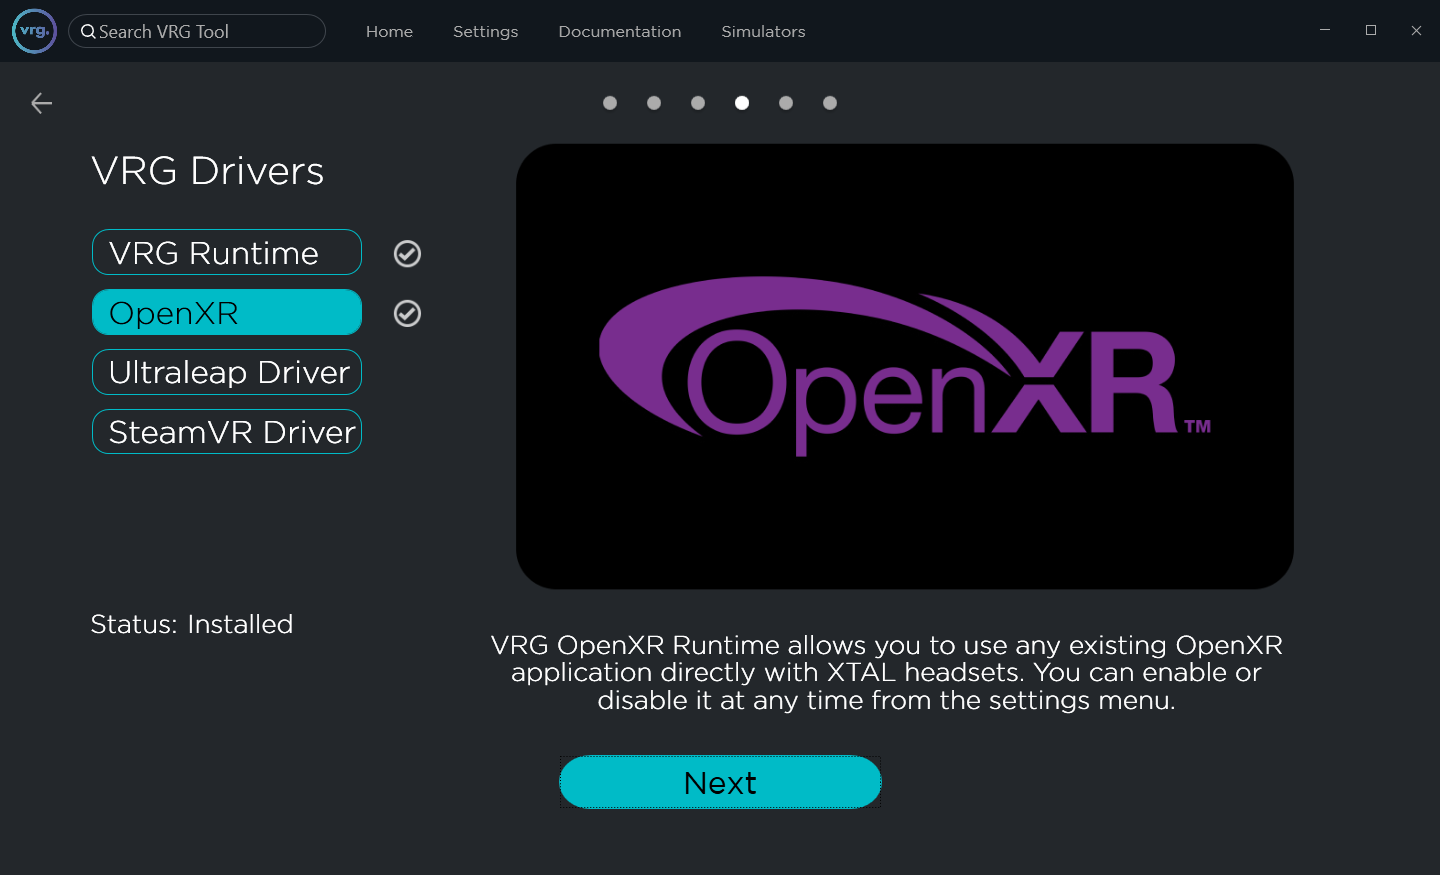
- OpenXR Runtime setup.
- During this step you can install the VRG OpenXR Runtime, which allows you to use OpenXR applications directly with XTAL headsets.
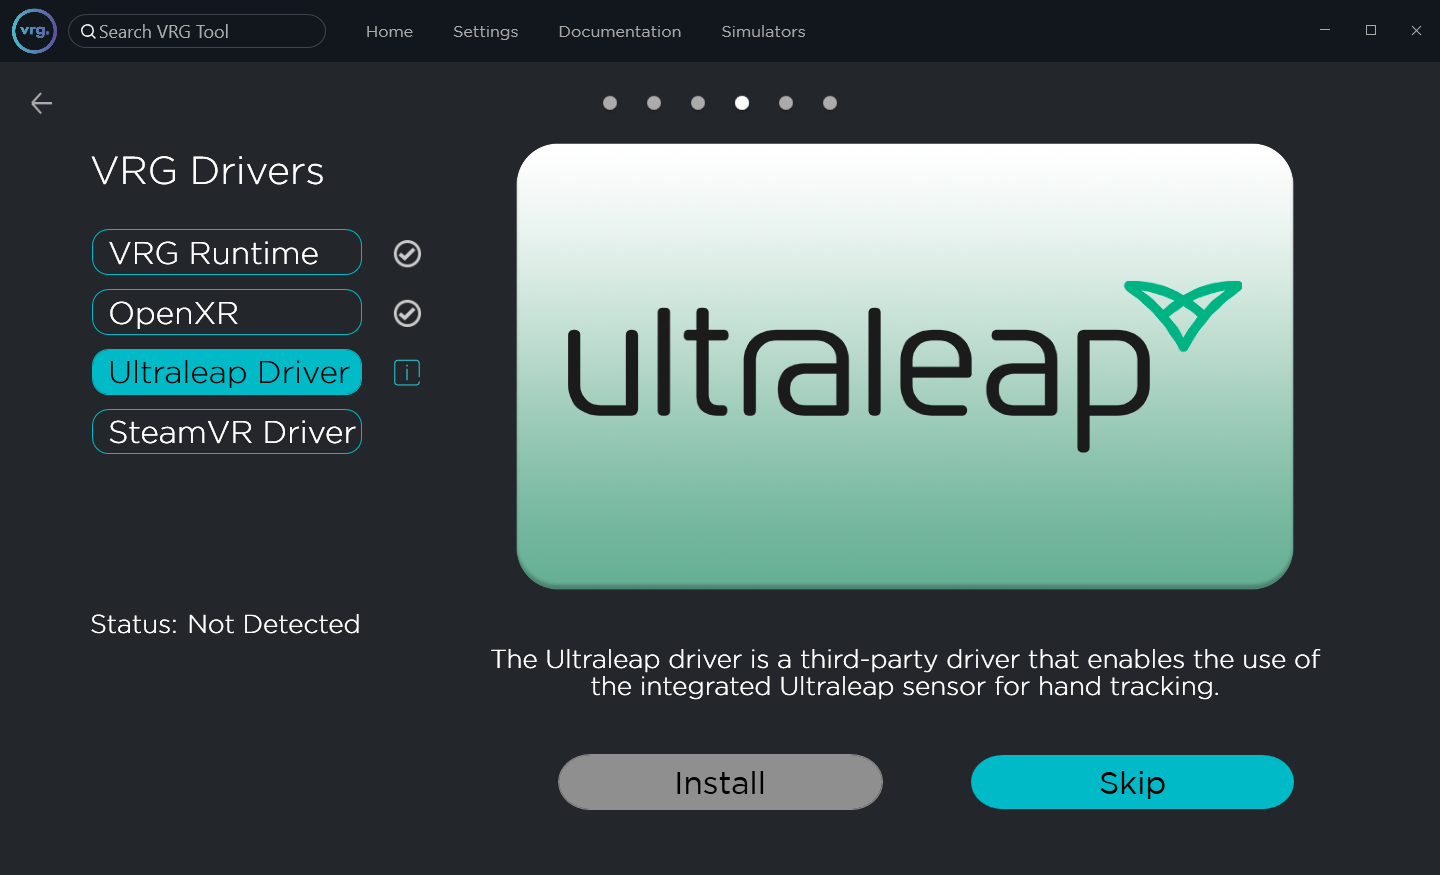
- Ultraleap Driver setup.
- During this step you can install the Ultraleap Driver, which allows you to utilize the embedded Ultraleap/LeapMotion controller for hand tracking.
- This step can be skipped if you don’t plan on using any Ultraleap/LeapMotion compatible applications.
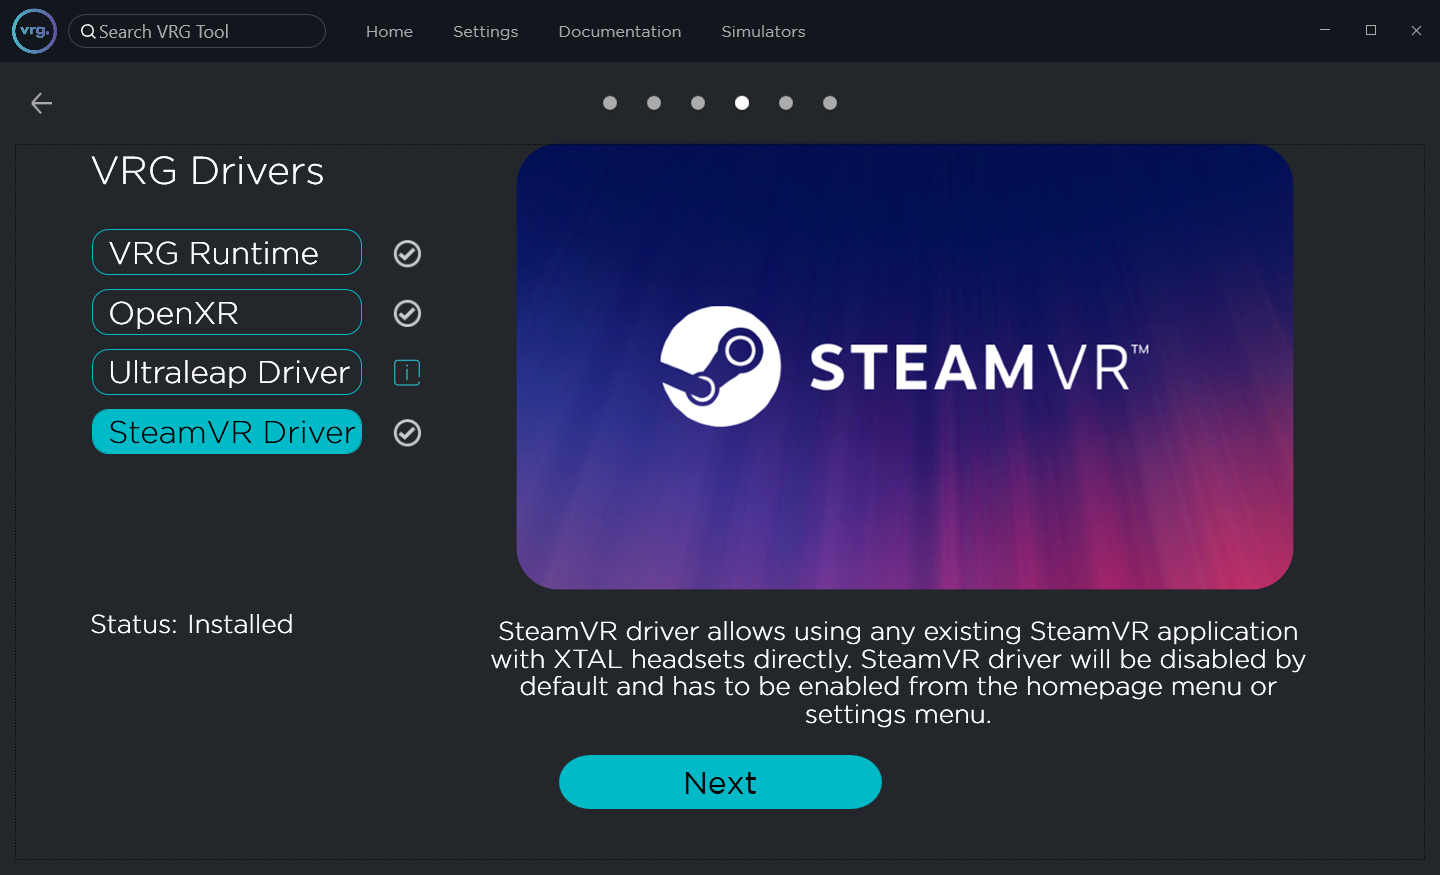
- SteamVR Driver setup.
- This step will lead you through the SteamVR Driver installation for direct XTAL compatibility with SteamVR applications.
- Last step in the installation wizard is the tracking setup.
- Please follow the instructions for your specific tracking system depending on the tracking addon delivered with your XTAL headset.
- For more information about available tracking systems please see the Tracking section.
- Notes
- If you want to utilize the audio jack output to connect headphones or the embedded microphone, you’ll need to first enable the integrated sound card.
- Click on the ‘Sound – On/Off’ switch in My Headset section.
- The headset will restart automatically, and after that you’ll see the XTAL audio output and input in the Windows sound options.
- You can connect any external headphones in the audio connector on the left side of the headset (next to the DP/VirtualLink cable).
- The embedded high-quality microphone is located on the bottom side of the headset.
- If you see the message ‘No Headset Connected’ in My Headset section, make sure that the USB cable and power cord are properly connected.
- If VirtualLink connection can’t be established, please make sure that the VirtualLink cable is plugged to the same graphical card as your main display.
- If DisplayPort connection can’t be established, please try plugging the DisplayPort cable to a different port in the graphics card.
- If you still can’t see the headset info in VRG Tool, please contact us through the help form.
- If you want to utilize the audio jack output to connect headphones or the embedded microphone, you’ll need to first enable the integrated sound card.
This page was last modified on May 15th, 2025 at 13:38
< PreviousNext >