Quick Setup
You can follow these simple steps for a day-to-day usage of your XTAL headset:
- Connect XTAL headset to the computer.
- Start VRG Tool application [see VRG Tool page for details].
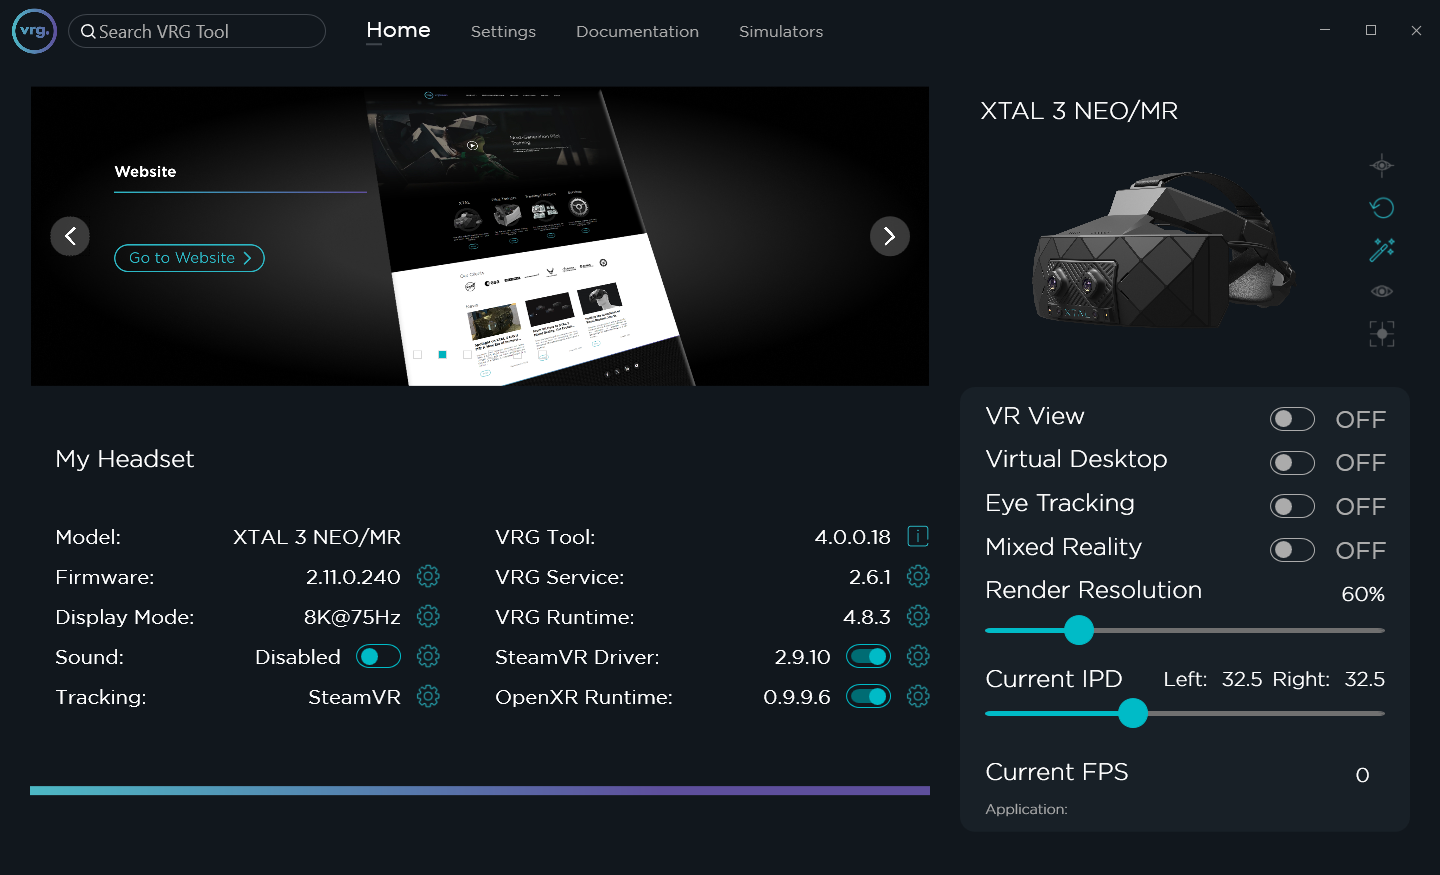
- Make sure that the XTAL headset is detected and recognized correctly (either in the My Headset – Model section or in the Connected Device section).
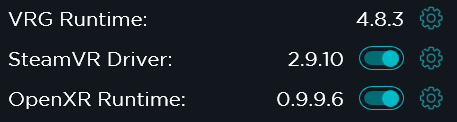
- Make sure that the VRG Runtime is installed and updated.
- You are up to date if My Headset – VRG Runtime section shows a version number, otherwise status “Not Installed” or “Update Required” would be shown.
- Make sure that the SteamVR Driver and the OpenXR Runtime are installed, updated, and set correctly according to the demo/application you’ll be using.
- If you’ll be using a native XTAL application (for example any of the demos available in the Demos folder) we recommend disabling the SteamVR Driver.
- If you’ll be using an OpenXR compatible application (for example OpenXR Test demo available in the OpenXR folder) make sure that the OpenXR Runtime is enabled (and we also recommend disabling the SteamVR Driver).
- If you’ll be using a SteamVR compatible application (for example VR applications/games available on the Steam platform) make sure that the SteamVR Driver is enabled [see SteamVR Driver page for details].
- Start the tracking manager/application for your tracking system (SteamVR for Lighthouse/SteamVR tracking, DTrack for ART tracking…) and make sure that the headset is tracked properly [see Tracking page for details].
- Make sure that correct tracking system is selected in the My Headset – Tracking section.
- If you are using any VR controllers, make sure that they are working and are tracked in the tracking manager/application.
- Start the VR application (for example one of our demos).
- Put the headset on.
- Set the focus and IPD appropriately [see How to set the Focus and IPD page for details].
- Enjoy your VR experience.
This page was last modified on April 7th, 2025 at 15:36
< PreviousNext >